Internal Finish Costs
30/04/16 17:48 Filed in: Internal Finish Costs
The Costs for internal fit out:
Total £ 10,371
This makes a grand total for the build of :
Groundworks, Foundations, Concrete Piers, Soak away, Drains, £8713
Build to wind and Watertight £15501
Internal Fit out and Finish £10371
Which comes to £34,585 A build cost per m2 of £1,152
Important to remember that none of my time and labour has been costed. Throughout the build I project managed materials and other contractors. I physically worked on the building on average four days a week. I also sourced a lot of materials and went to pick them up.
I was planning to get below £1000 per m2. We just missed this but I am very pleased with the quality of the build that we have ended up with.
Without the skilled work from Sean Morrison who did all of the ground works, the help from Bekah Sparrow when we were raising and making the frames and of course Simon Bell's patience with me and great breadth of knowledge and skills throughout, it wouldn't have happened at all. A really big thanks to all, not least of all to Kate Prentice who has willingly, most of the time, gone along with my hair brained schemes and projects. She is also very good at making the buildings live, with a great sense of design and how materials work with each other to make the spaces a joy to inhabit xxx
- Ply Ceiling £220
- Larch Floor, together with underlay and Hard Wax finish £760
- Osb for internal walls £280
- Cembrit Cement Sheets £380
- Electrics Labour and Fittings £1976
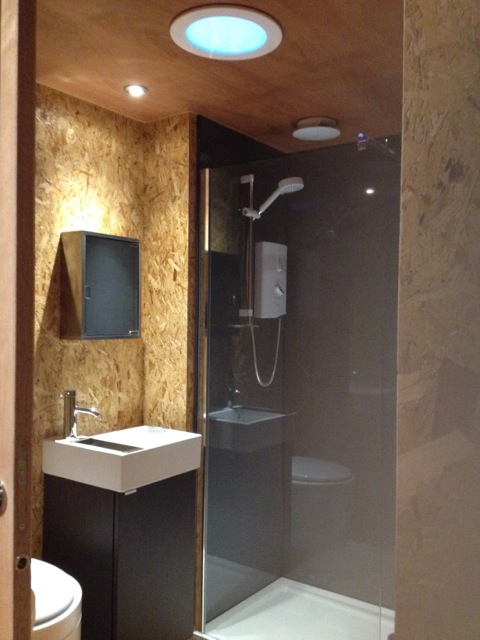
- Shower wet wall £340
- Shower Glass £78
- Electric Mira Shower £190
- Shower Tray £85
- Bathroom Sink and Tap £87
- Cabinet £38
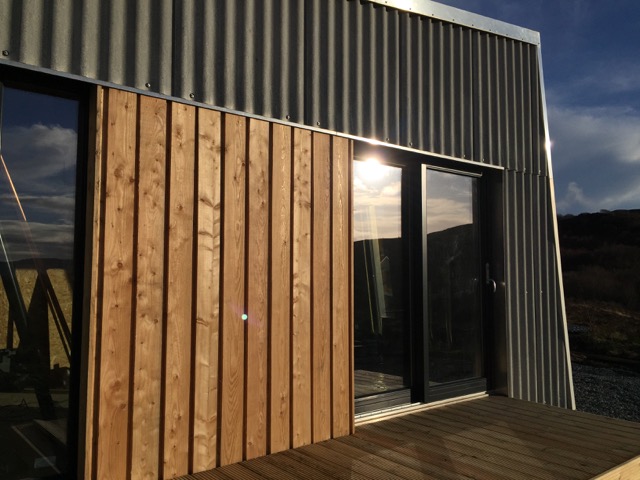
- Decking External £460 including Labour
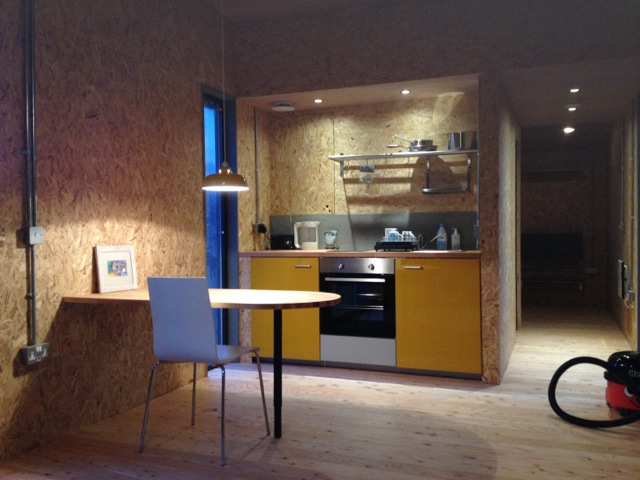
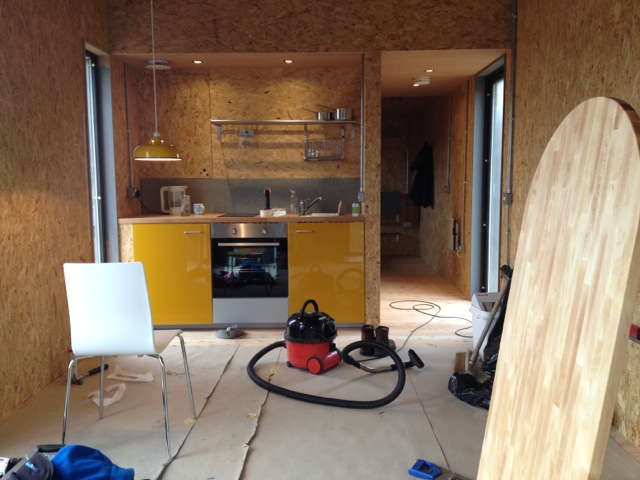
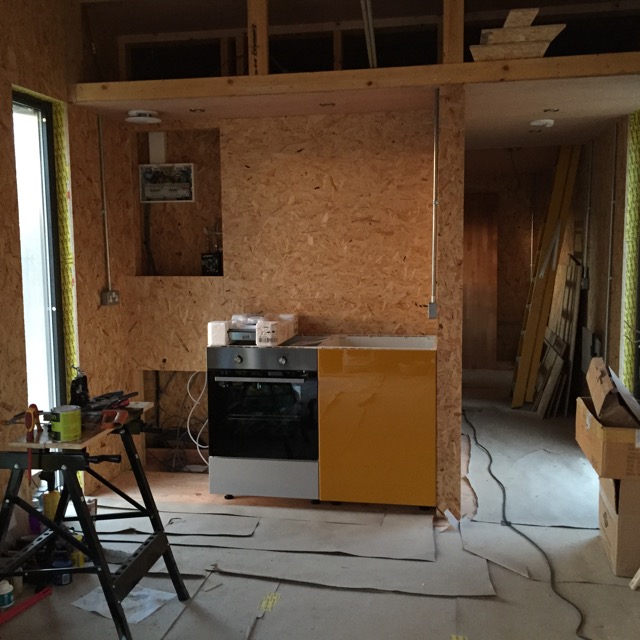
- Kitchen units and appliances £769
- Kitchen table £86
- Tiles for under stove £175
- Hot water heater £67
- Plumbing £180
- Stove £750
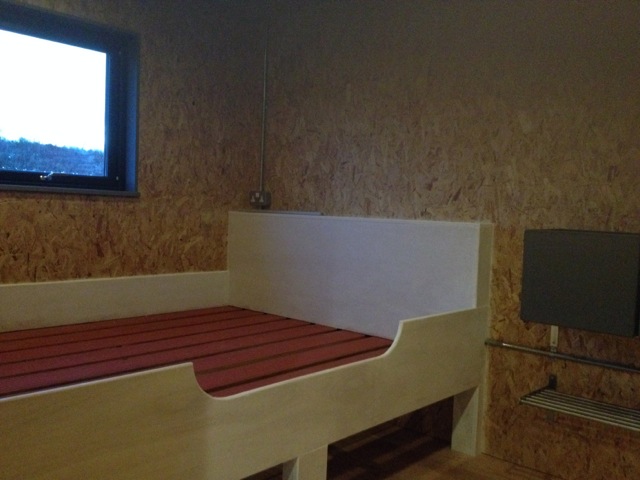
- Bed constructed from left over structural wood and decking
- Labour £2800
- Final groundworks and Gravel £650
Total £ 10,371
This makes a grand total for the build of :
Groundworks, Foundations, Concrete Piers, Soak away, Drains, £8713
Build to wind and Watertight £15501
Internal Fit out and Finish £10371
Which comes to £34,585 A build cost per m2 of £1,152
Important to remember that none of my time and labour has been costed. Throughout the build I project managed materials and other contractors. I physically worked on the building on average four days a week. I also sourced a lot of materials and went to pick them up.
I was planning to get below £1000 per m2. We just missed this but I am very pleased with the quality of the build that we have ended up with.
Without the skilled work from Sean Morrison who did all of the ground works, the help from Bekah Sparrow when we were raising and making the frames and of course Simon Bell's patience with me and great breadth of knowledge and skills throughout, it wouldn't have happened at all. A really big thanks to all, not least of all to Kate Prentice who has willingly, most of the time, gone along with my hair brained schemes and projects. She is also very good at making the buildings live, with a great sense of design and how materials work with each other to make the spaces a joy to inhabit xxx
Finishes
28/04/16 17:23 Filed in: Finishes
I was going to be away for five days working so only had four full days to complete any work before our first guests arrived on the 30th of April.
Things to do:
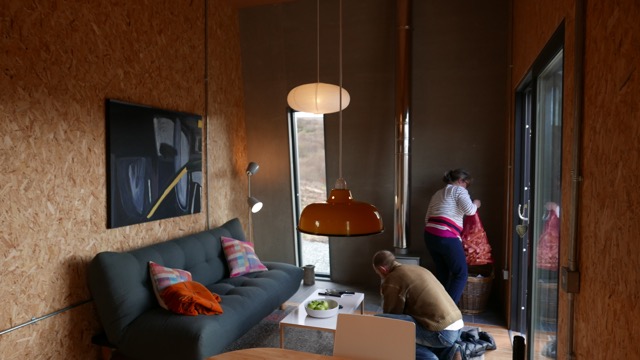
Kate was great at finding really good interior fittings that worked together very well. She had organised for all of the rugs, sofa, bedding to be on site ready to go as soon as the floor was sealed. Simon even came over very kindly on the last day to help with any finishes and snags.
I was sorting out the router and wifi from the satellite internet connection.
Things to do:
- Sealing the floor with Hard wax oil
- Building the king size cabin bed
- completing all light fittings
- Putting up shelves
- Placing all furniture, bedding, rugs
- Putting up wall mounted kitchen table
Kate was great at finding really good interior fittings that worked together very well. She had organised for all of the rugs, sofa, bedding to be on site ready to go as soon as the floor was sealed. Simon even came over very kindly on the last day to help with any finishes and snags.
I was sorting out the router and wifi from the satellite internet connection.
Water & Electics on and Tested
20/04/16 16:58 Filed in: Water & Electics on and Tested
It was great to have the electrics and water on. The electrics were tested by Mathew and all was good. I had turned the water on and left joints uncovered just to make sure there were no leaks. Two of the compression joints needed a slight tweak. Apart from that all was well.
The water and electric system was very simple. We were obviously using low wattage Led lights all through the Studio. The hot water for the kitchen and the bathroom was supplied by a tiny instant electric heater of 3.5kw. It worked fine although to get the water very hot you had to reduce the flow from the tap. But once this was done it was more than adequate.
The shower in the bathroom was an electric Mira Sports shower of 9.8kw. The loo is a simple Separett Weekend waterless toilet. It uses no water and the urine is separated form the solids and there is a constant fan of 2.5w extracting air from the loo to the outside. The urine goes into a simple layered soak away and the solids are composted with food waste in a three bay composting system that has been working really well for the last three years.
The shower walls are wet walls that fitted against the sob, again a standard grey colour that fitted with the other materials.
As the Studio is very airtight and well insulated it requires very little heat. There is a .5kw towel rail and one .75kw panel heater in the hallway. The wood burning stove is 4kw and easily heats the whole Studio space very quickly.
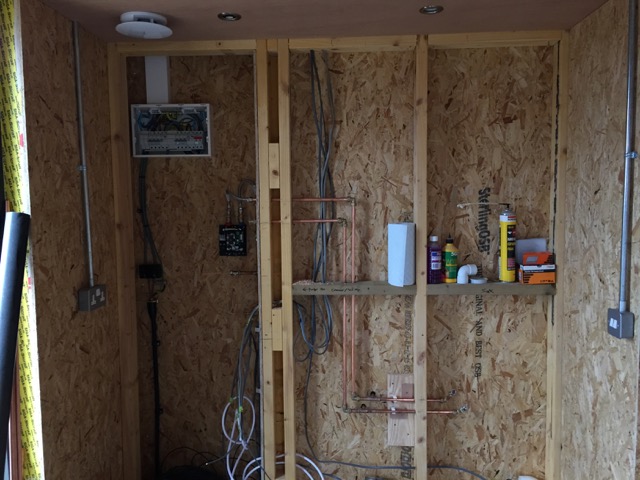
Second Fix
04/04/16 16:51 Filed in: Second Fix
We were now into April!
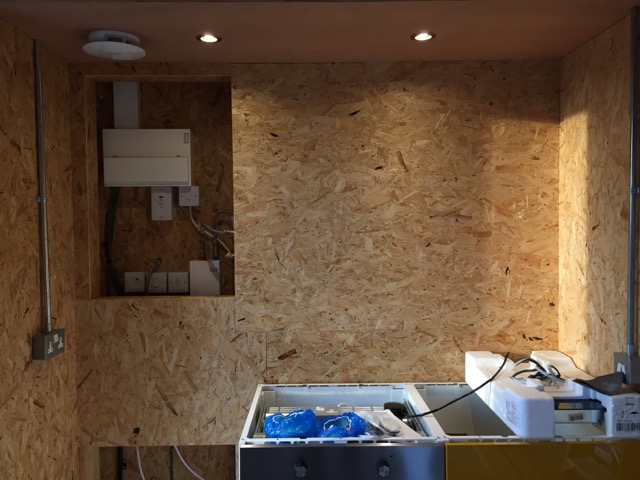
We had decided that the electrics would be on show down the walls in galvanised conduit with surface mounted steel plug sockets. These were very cheap and cut down the bill for the electric fittings considerably.
The galvanised conduit was fitted very carefully by Mathew, it took a while as it obviously has to be cut and a thread cut into the ends to allow it all to fit together snugly.
We really liked how the metal conduit looked against the Osb.
Cembrit Concrete Sheets
24/03/16 16:39 Filed in: Cembrit Concrete Sheets
Next with the plumbing getting on was picking up the kitchen units, fridge, cooker and hob together with units and the cembrit cement wall panels for behind the stove. We had thought carefully about the material for the wall behind the stove and had decided on the cembrit cement sheets. I had seen them used in Glasgow within Urban outfitters, who seem to have some interesting choice of materials within their shops.
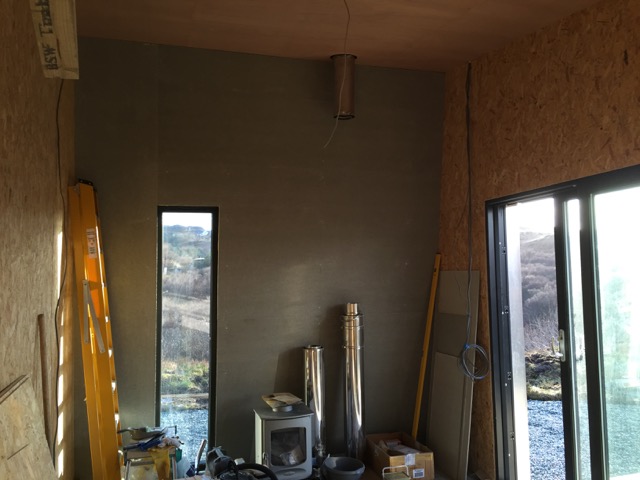
The very smooth gray finish worked well with the outside Marley sheets and also looked good with the tiles underneath the stove. We checked the materials out together before ordering and then picking up the sheets and kitchen, Ikea, from Glasgow. We dropped into Inverness on the way back to get the armoured electric cable that would take the electric supply from our house into the consumer unit within the Studio. Then straight back to get on with the work as April approached faster than I dared imagine.
The electrician Mathew was also due back to get on with the second fix within the next week. I also had organised Sean to dig the service trench for the electric cable and the water. I said I would have this ready into both houses for Mathew the electrician. At the same time I had got help with the external decking which would be in place ready for Sean to lay the final gravel on the track and around the Studio. Busy.
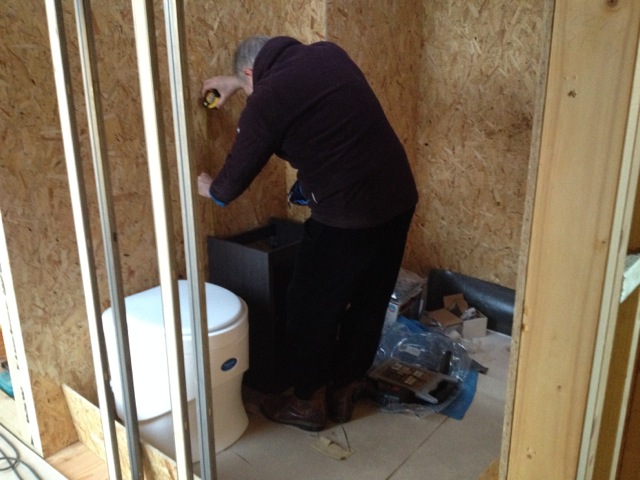
Plumbing and Fittings
15/03/16 16:21 Filed in: Plumbing and Fittings
It was important to keep on top of all of the ordering of fittings in the last part of the build. To save on space we were having a sliding pocket door into the the bathroom. This required specialist fittings and door catches. We also had to seal the bathroom floor as the pocket door would cover and hide some of the floor in the wall makeup for the sliding mechanism.
Kate sealed the floor with the recommended hard wax finish from Cromartie timber.
Once this was done I was then able to begin on the compost loo from Separett which was supplied by Littlehouse who is now the distributor, and very helpful, for Separett and other dry loo solutions. I was also able to get the bathroom sink in place ready for the plumbing internal to the walls that all runs, economically along the shared kitchen, bathroom stud wall.
I was doing the plumbing myself and decided to do copper pipe with soldered joints and some compression fittings to taps, water heater and electric shower. Plumbing is fairly straight forward, again it is methodical and relies on planning and prep. You need a good blow torch, flux and solder. I bought all of the pipe and fittings from Screwfix, incredibly cheaply compared to those available on Skye.
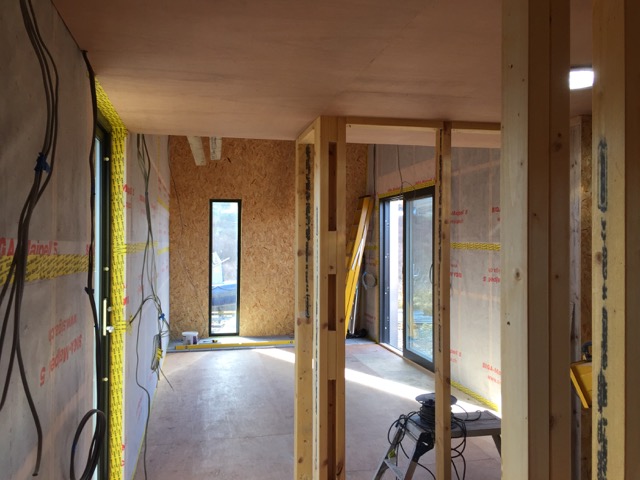
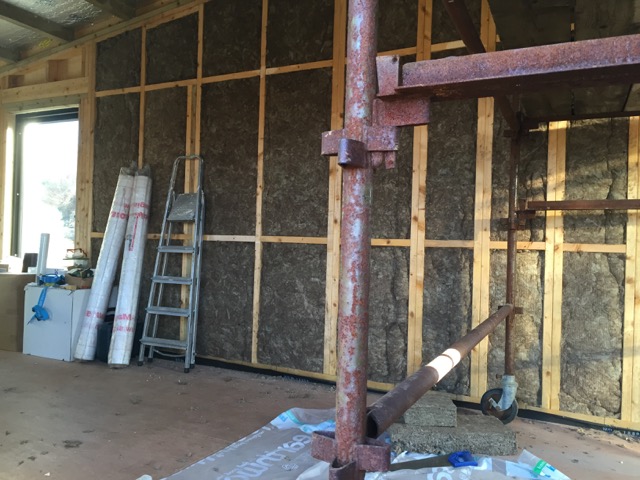
Internal Wall OSB
06/03/16 16:10 Filed in: Internal Wall OSB
Simon got back to us. All the Osb I had delivered from a local merchant in Portree and had it delivered I had covered the laid wooden floor with thick cardboard roll to protect it from dropped tools, scuffs and scratches.
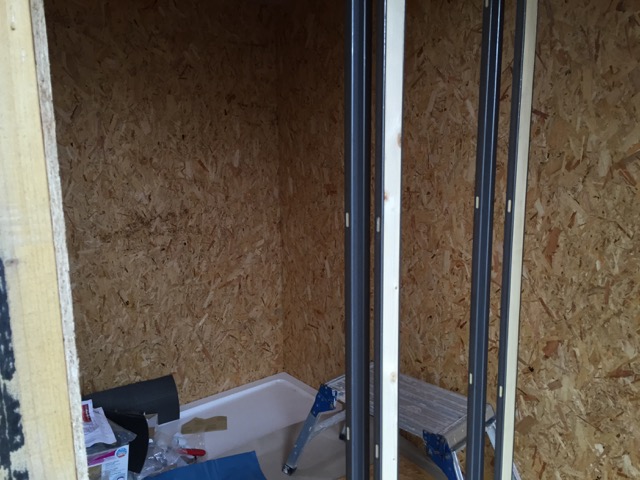
Once on site again Simon was quick to get on and we had most of the wall complete within two days. It was great to see this going up. We were very careful in the measuring and Simon had invested in a Saw that worked within its own rails and guides, specifically designed for sheet material. This made the cuts very clean and accurate. We had decided on a 6mm shadow gap where the OSB met the floor.
There is no skirting board in the Studio and this makes for a very simple and clean look.
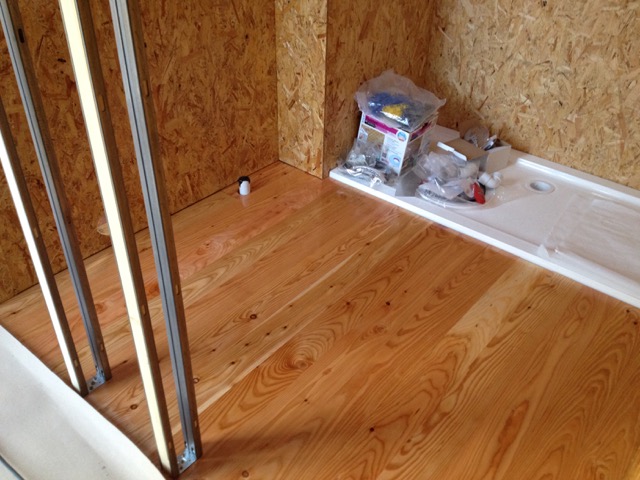
Larch Floor
26/02/16 15:58 Filed in: Larch Floor
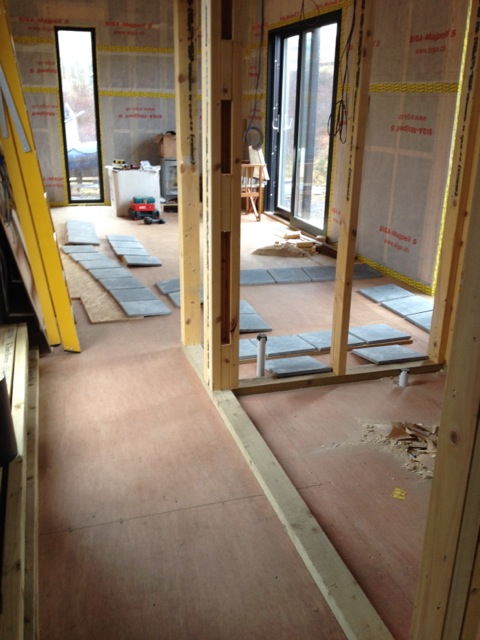
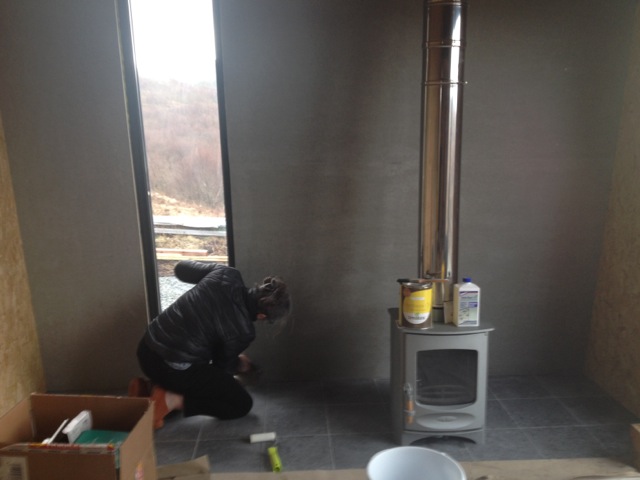
Before the Larch floor could be started the tiles under the Stove had to be laid and grouted. We had got the tiles, which were gray stone on special offer from Fired Earth. They had already arrived and while doing the studs Simon had set out the tiles. They didn't need cutting as they were chosen to fit the space with a 3mm grout gap around each one.
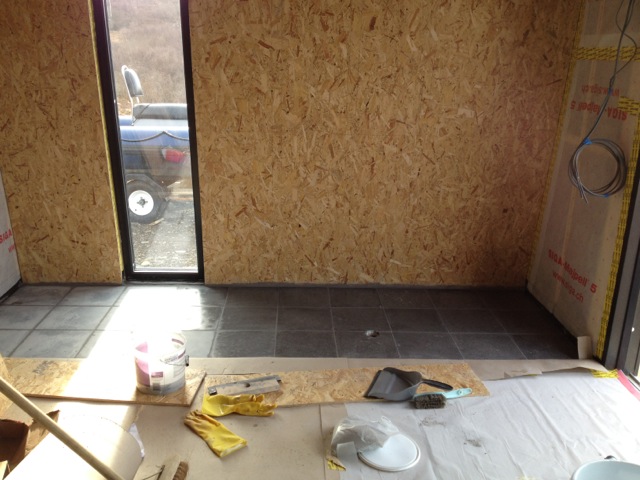
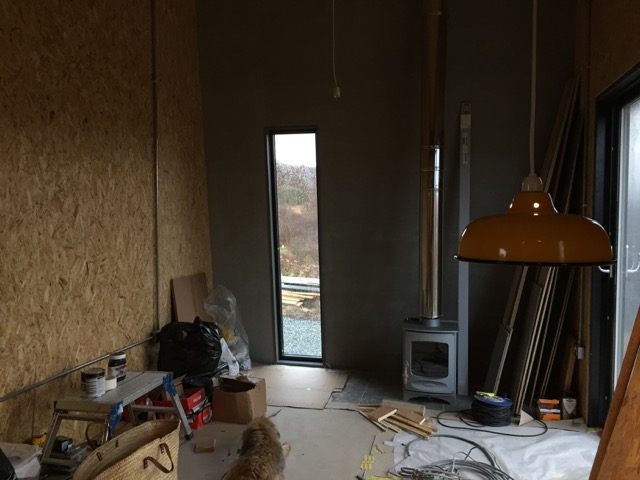
The only cut needed was a circular hole for the external air inlet for the Charnwood C4 stove. Kate grouted and sealed the tiles, after which I installed the Charnwood stove with its air inlet and top mounted flue. I had to eat porridge on the morning before lifting the stove into place, it was on the edge of my strength but just managed it. It looked really bonny when in place.
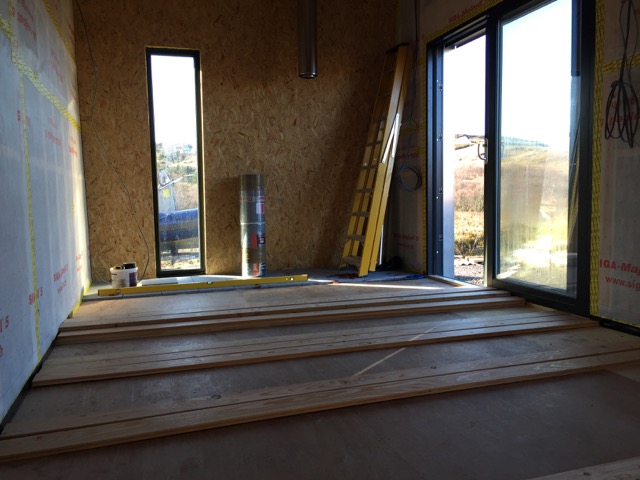
Only then could I set out the Larch floor and get on. I had set myself three days to do it before Simon was back to begin the Osb internal wall sheathing. I enjoyed laying the floor, as always it is the preparation, once this is done it is then a steady methodical exercise of cutting and laying.
Floor in living room, kitchen
Larch floor into bathroom just bedroom to complete
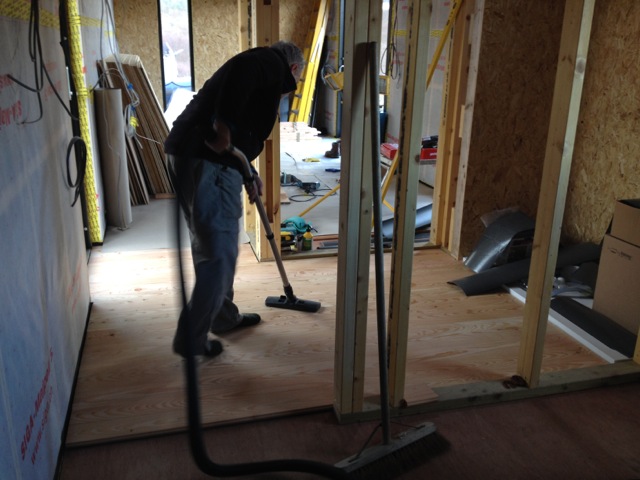
Me cleaning before covering and protecting floor.
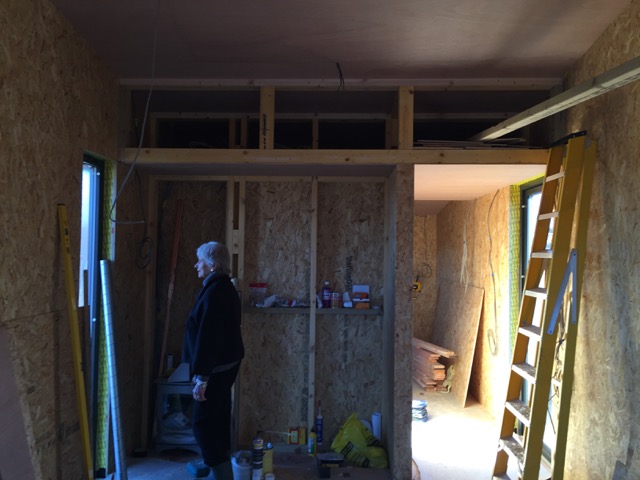
Order of Work
02/02/16 15:14 Filed in: Order of Work
Simon and I had discussed the order of work that needed to be completed for each stage to follow on from the other.
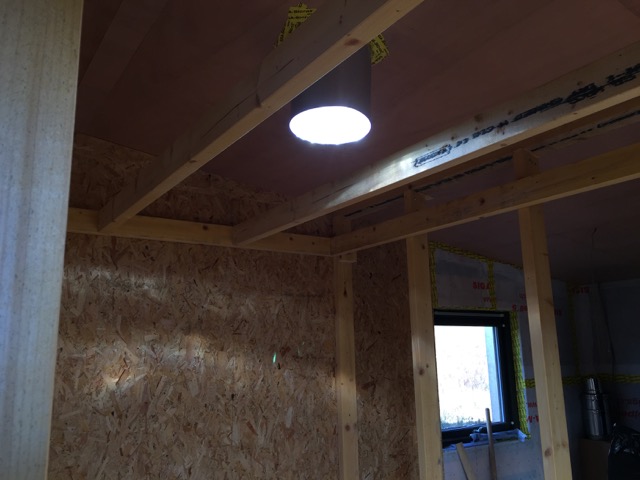
Simon was also busy so said I had to do the external holes and flashings in the roof for the chimney flue and light tube.
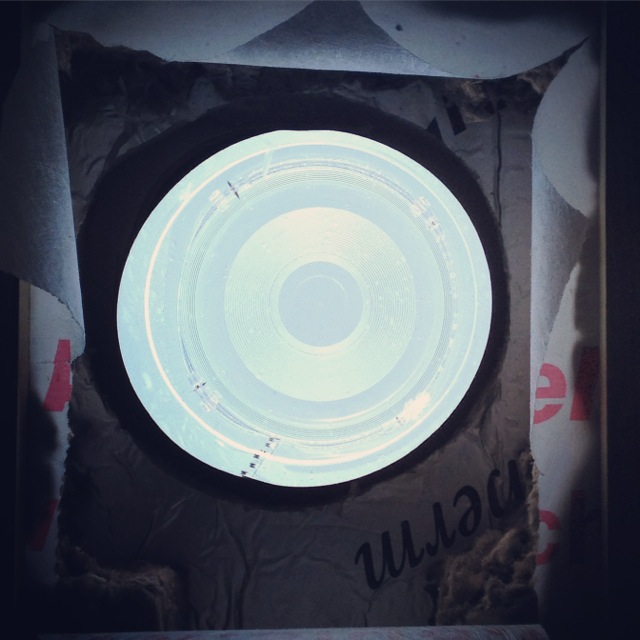
To his surprise this was done before he got back to fit the ceiling ply, he even said I had done a decent job, high praise indeed, I was quite pleased with myself for a few minutes. So the order of work was:
Quite a list and we were at number two and it was already February and our first guests arrived on the 30th of April.
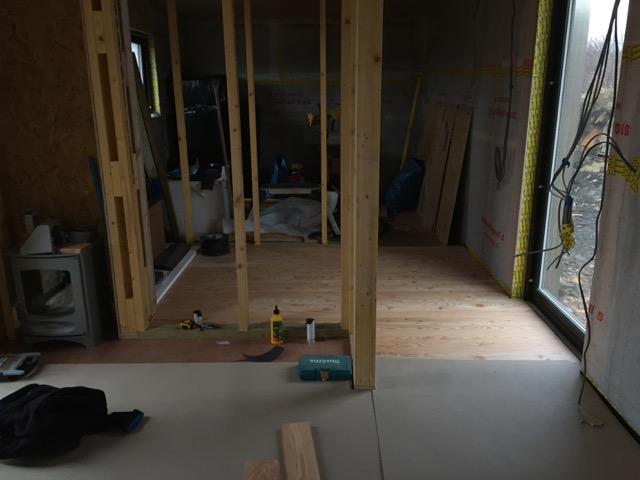
As the internal stud walls require careful construction I had to let Simon design the structure and was there to help him. His experience allowed him to come up with the most economical and strong way of creating the studs accurately.
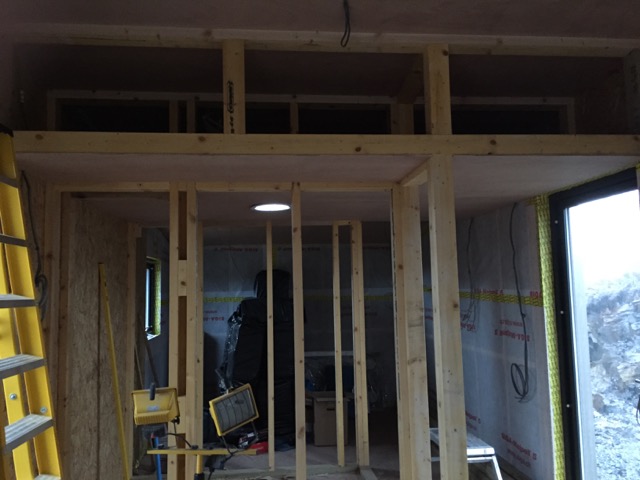
As the internal dimensions of the bathroom were designed around the size of the resin shower tray the studs needed to be accurate and take account of both the wall sheathing thickness and the wet wall thickness on top of this.
Easy to get wrong without experience. As ever I was glad to rely on Simon's skills.
Once underway the studs didn't take long, Simon was kindly giving me time over the weekends. The studs took about two days to complete. Once these were done Simon said I was perfectly capable of doing the larch floor. He gave me a few tips and I cleared up and got the Larch floor from the store, already picked up before Christmas from Cromartie timber, into the Studio ready to set out and cut.
The larch was really lovely so I took great care setting up and choosing the boards for particular areas in the Studio. The floor in total had cost just over £600.
Simon was also busy so said I had to do the external holes and flashings in the roof for the chimney flue and light tube.
To his surprise this was done before he got back to fit the ceiling ply, he even said I had done a decent job, high praise indeed, I was quite pleased with myself for a few minutes. So the order of work was:
- Holes for Flue and light Tube
- Ceiling Ply
- Internal stud framework for bathroom, kitchen, hallway
- Tiles for stove and end of room
- Larch flooring all way through with necessary expansion gaps
- Internal walls to be sheathed in Osb
- Internal insulation, sound proofing
- Plumbing for hot water cold water, kitchen and bathroom
- End wall behind stove to have concrete cembrit sheets installed
- Kitchen and bathroom sinks and appliances
- Second fix electrics
- Final fittings
Quite a list and we were at number two and it was already February and our first guests arrived on the 30th of April.
As the internal stud walls require careful construction I had to let Simon design the structure and was there to help him. His experience allowed him to come up with the most economical and strong way of creating the studs accurately.
As the internal dimensions of the bathroom were designed around the size of the resin shower tray the studs needed to be accurate and take account of both the wall sheathing thickness and the wet wall thickness on top of this.
Easy to get wrong without experience. As ever I was glad to rely on Simon's skills.
Once underway the studs didn't take long, Simon was kindly giving me time over the weekends. The studs took about two days to complete. Once these were done Simon said I was perfectly capable of doing the larch floor. He gave me a few tips and I cleared up and got the Larch floor from the store, already picked up before Christmas from Cromartie timber, into the Studio ready to set out and cut.
The larch was really lovely so I took great care setting up and choosing the boards for particular areas in the Studio. The floor in total had cost just over £600.
Internal Roof Battens
25/01/16 15:05 Filed in: Internal Ceiling
I took a bit longer off than I should have done over the new years break. I was supposed to get all of the ceiling battens in place so that Simon could drop by to put up, a two person job, the plywood sheathing. We also had to make sure that the electrical cables for downlights were in the correct place for the electrician to do the second fix.

By the end of January I was ready and all the battens were in place in order to begin the plywood sheathing. I had thought that standard sheathing would be ok but when it was delivered it was far too rough and twisted for it to be placed on the ceiling.

This delayed things a bit and Simon and I decided to go and pick out suitable 10mm ply sheets from the local merchant in Portree to ensure that we had good enough quality ply for the roof. It had to be flat and the surface good to be suitable. We were able to sort through the pile and pick out sheets suitable. These were pretty cheap at just below £200 for all we required.
By the end of January I was ready and all the battens were in place in order to begin the plywood sheathing. I had thought that standard sheathing would be ok but when it was delivered it was far too rough and twisted for it to be placed on the ceiling.
This delayed things a bit and Simon and I decided to go and pick out suitable 10mm ply sheets from the local merchant in Portree to ensure that we had good enough quality ply for the roof. It had to be flat and the surface good to be suitable. We were able to sort through the pile and pick out sheets suitable. These were pretty cheap at just below £200 for all we required.
Larch Cladding
12/12/15 00:14 Filed in: Larch Cladding
Simon managed to drop back for a Saturday to complete the installation of the external Larch panels on either side of the building.
This meant the outside, apart from a few details, was now complete marking another milestone in the build.
Over the Christmas break I will install the 50mm x 25mm roof battens that will provide a space for the electric cables before the next job of fitting the ply finish on the internal roof.
After the ply roof we will construct the internal walls and then fit the larch flooring, finishing with the osb wall finish. Sounds easy!
Completing Membrane
03/12/15 00:07 Filed in: Membrane
Once the first fix electrics were in I wanted to finish the membrane as quickly as possible so that the building was completely sealed before the Christmas break.
Given yourself a firm deadline, particularly when working on your own, is important and keeps the sense of tangible progress going on the build.
I must say I was pleased when the last piece of membrane was installed and all the taped joints were completed. It allowed me to finally see the back of the itchy insulation.
Airtight Membrane
27/11/15 23:56 Filed in: Membrane
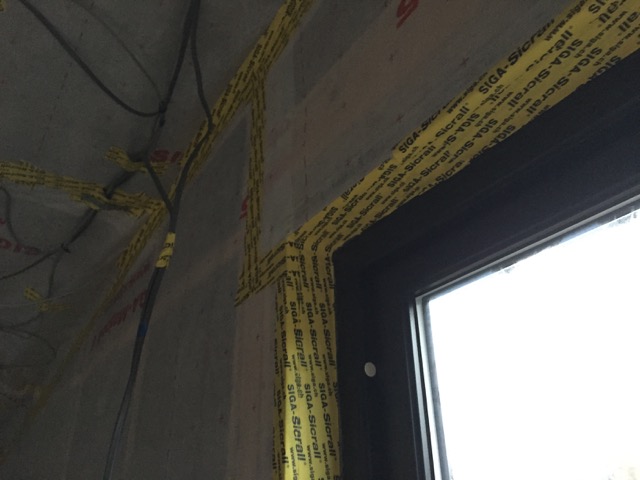
Due to the storm force winds in Skye the airtight envelope of the building is really important. The force of the wind will find any holes and the building will be draughty, more difficult and expensive to heat, much less comfortable a place to live in.
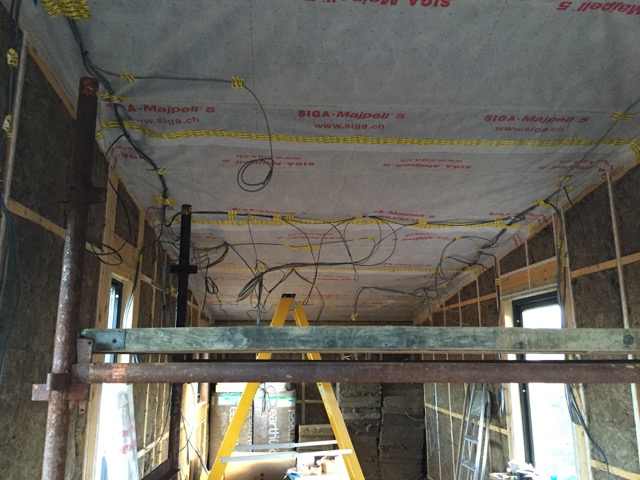
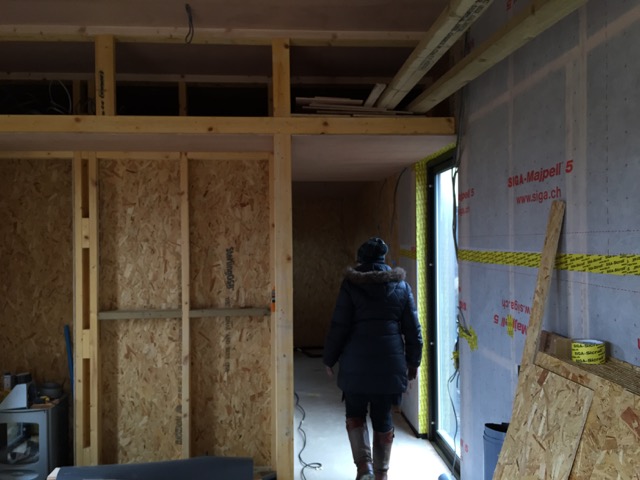
We used the membrane and tapes from Siga, a Swiss/German company. The membrane is very tough and easy to work with. It works well into corners and the tapes used for the overlaps stick in a way I haven't experienced before. The membrane can be handled by one person and it has marks, cross hairs, over the membrane surface that makes it easy to install straight and with the correct amount of overlap between joints. It is also semi translucent so you can see the structure beneath the membrane. On the ceiling joists and wooden frames for the walls a double sided tape is placed that holds the membrane firmly in place and seals any screws or nails that pierce the membrane where the double sided tape is installed.
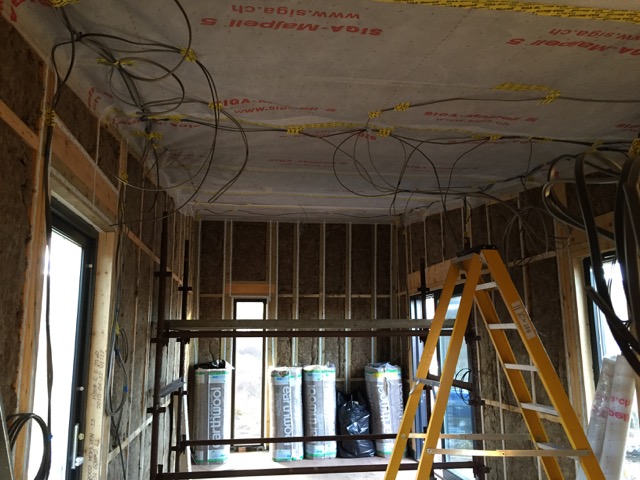
I thoroughly recommend the Siga materials as it is easy to work with and the tapes allow you to get very good airtight seals around all the important joints, wall to floor, windows, doors, ceiling to walls.
As you can see from the photographs the ceiling membrane was installed first to enable the first fix electrics to be installed on schedule for the 27th of November.
We used the membrane and tapes from Siga, a Swiss/German company. The membrane is very tough and easy to work with. It works well into corners and the tapes used for the overlaps stick in a way I haven't experienced before. The membrane can be handled by one person and it has marks, cross hairs, over the membrane surface that makes it easy to install straight and with the correct amount of overlap between joints. It is also semi translucent so you can see the structure beneath the membrane. On the ceiling joists and wooden frames for the walls a double sided tape is placed that holds the membrane firmly in place and seals any screws or nails that pierce the membrane where the double sided tape is installed.
I thoroughly recommend the Siga materials as it is easy to work with and the tapes allow you to get very good airtight seals around all the important joints, wall to floor, windows, doors, ceiling to walls.
As you can see from the photographs the ceiling membrane was installed first to enable the first fix electrics to be installed on schedule for the 27th of November.
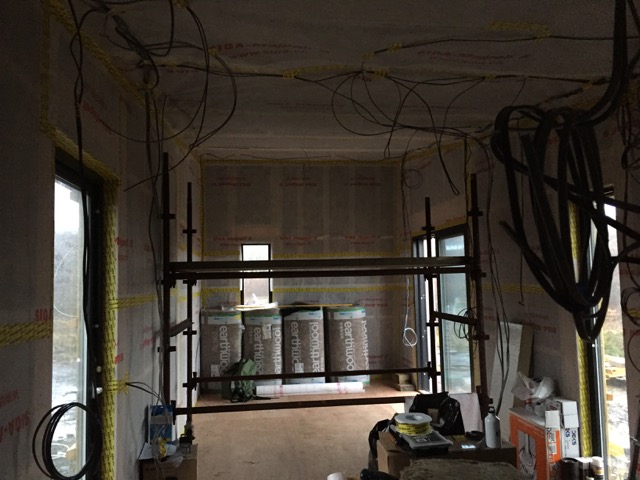
Building Insulation
12/11/15 23:15 Filed in: Insulation
This was a job I was not looking forward to. Cutting the 100mm blocks of celotex dense foam insulation is laborious. The dust from the sawing gets up your nose, so the face masks helped with this, and in your eyes. It was impossible to wear goggles as they steamed up. So I had to get used to itchy eyes and just crack on with the work ready for the electrician to begin sometime on the 25th of November.
The internal roof was first. The initial layer was 100mm of dense foam celotex and then the rest of the fill, 125mm, was earth wool flexible bats.
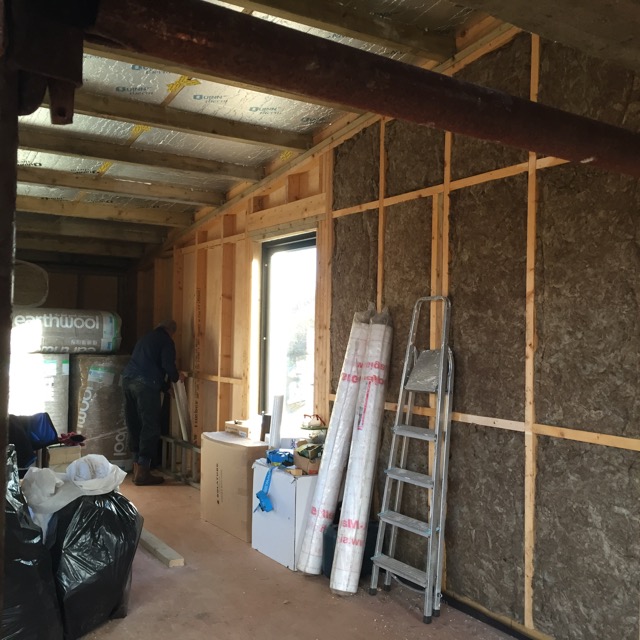
The foam insulation had to be measured and cut carefully so it was a snug fit between the roof timbers.
Once this was all in I then began the itchy work of putting in the earthwool. Once the foam insulation was in the ceiling I began on putting the 100mm of earthwool into the walls. The external walls already had a 100mm of dense foam insulation on the outside.
The internal roof was first. The initial layer was 100mm of dense foam celotex and then the rest of the fill, 125mm, was earth wool flexible bats.
The foam insulation had to be measured and cut carefully so it was a snug fit between the roof timbers.
Once this was all in I then began the itchy work of putting in the earthwool. Once the foam insulation was in the ceiling I began on putting the 100mm of earthwool into the walls. The external walls already had a 100mm of dense foam insulation on the outside.
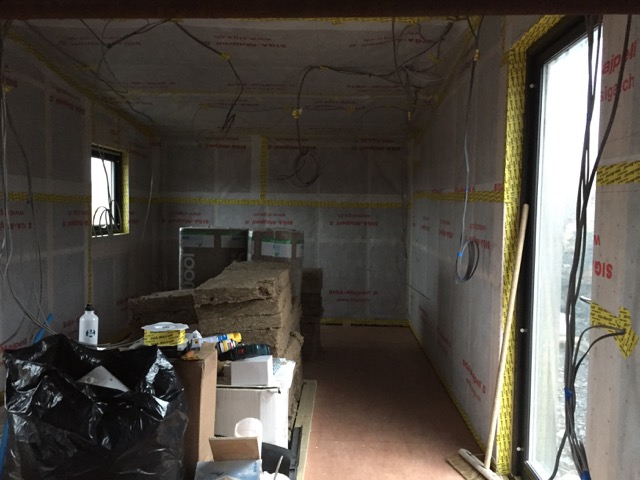
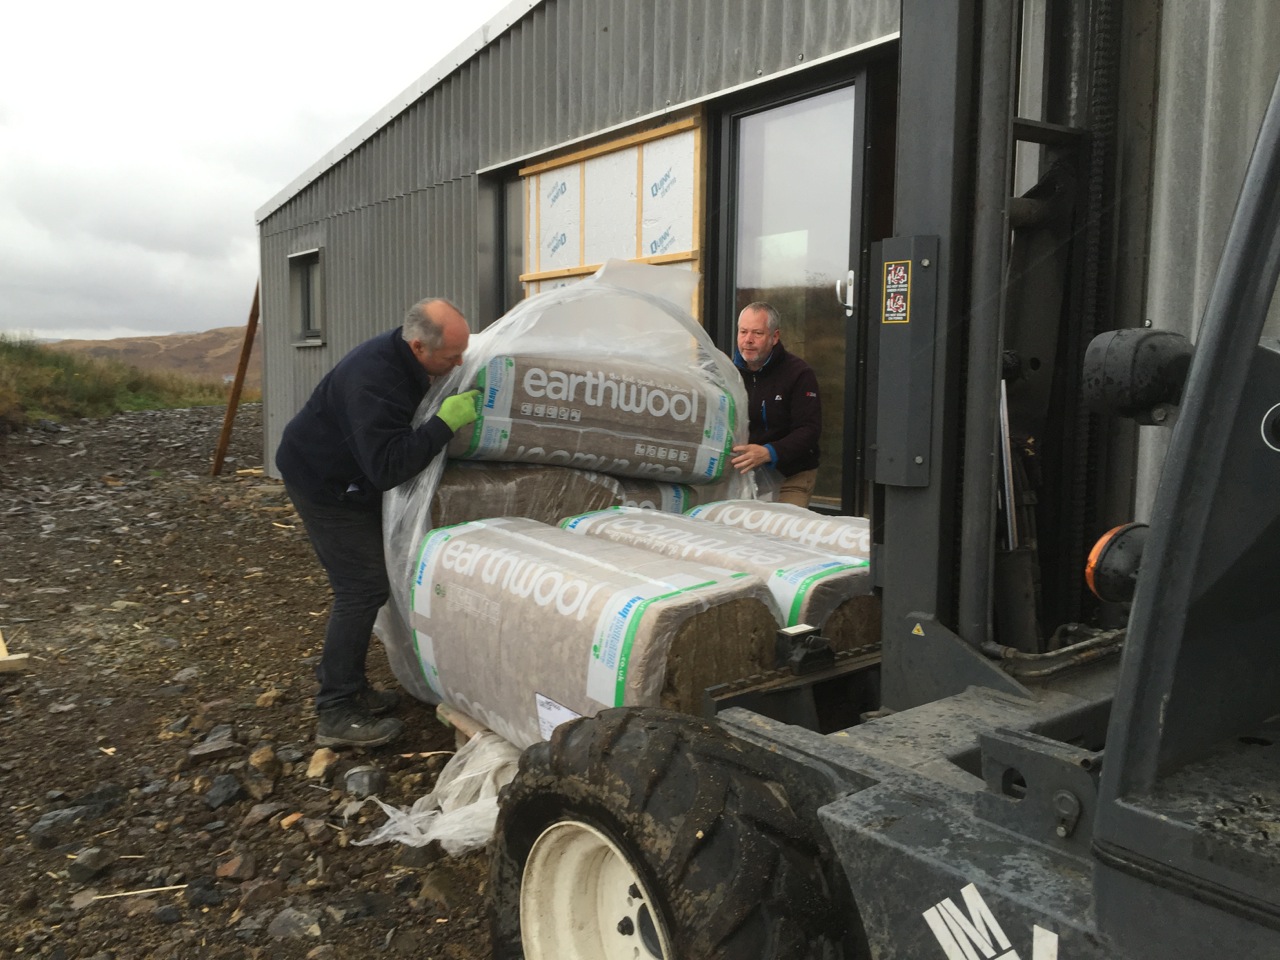
Interior Insulation
06/11/15 18:40 Filed in: Insulation
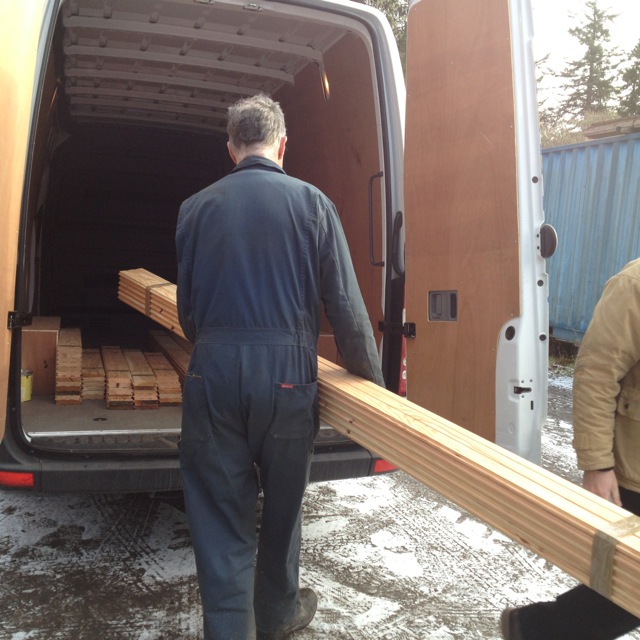
This week I had ordered the interior insulation and also went to pick up the external Larch cladding from Cromartie Timber near Strathpeffer.
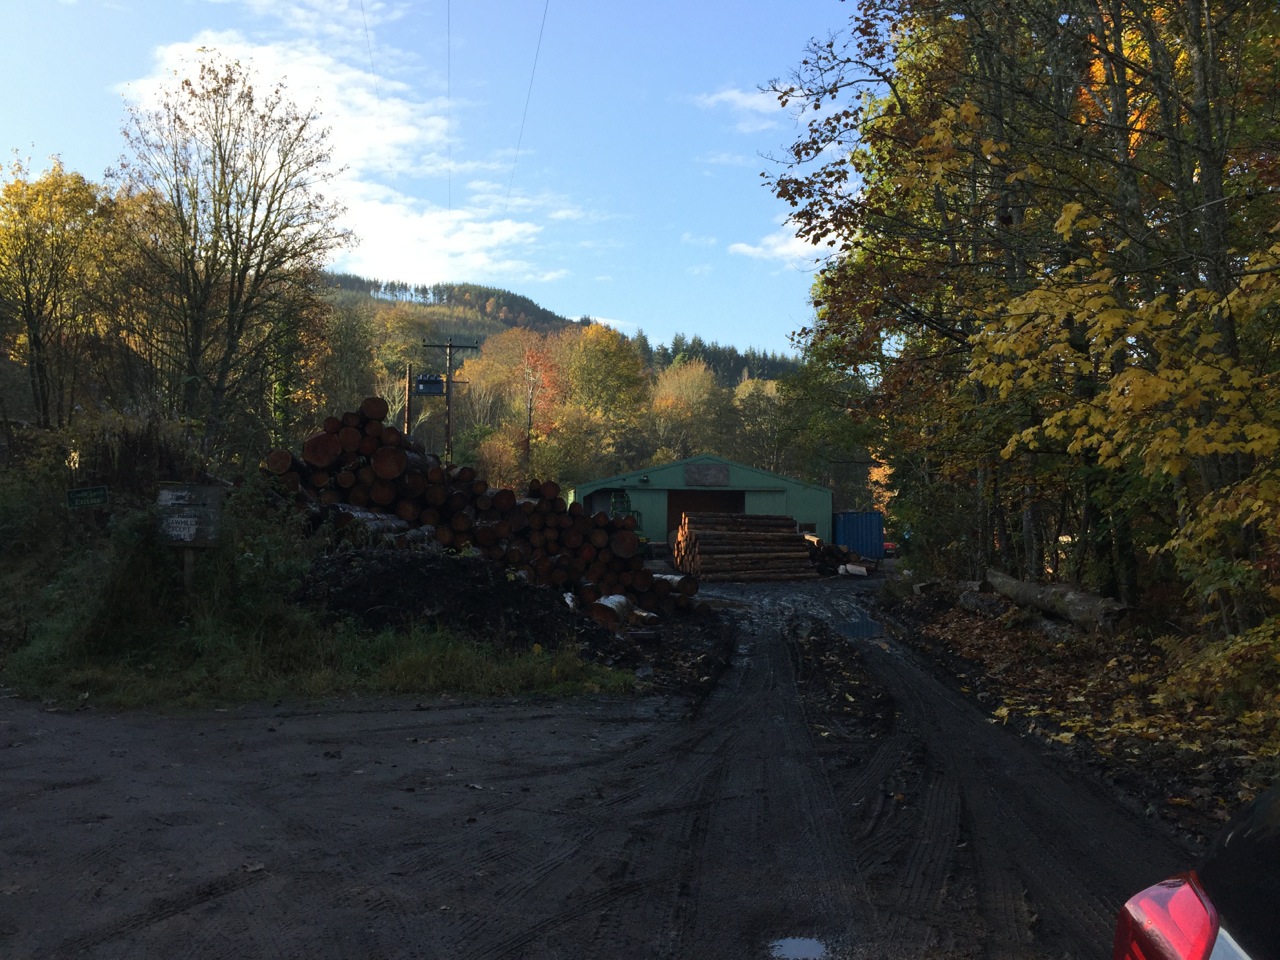
Nick who runs the sawmill was really helpful. He turned my order around in less than a week. All of the timber is sourced locally from Ullapool and nearer to Strathpeffer. The wood yard reminded me of sawmills that were dotted about all over the UK when I was a very young child in the 60's. They seemed to disappear as I got older and wood was something that you bought from the big chains.
While there Nick showed me the Larch flooring that they produce so I pre ordered some for the studio. It looked and smelt really good.
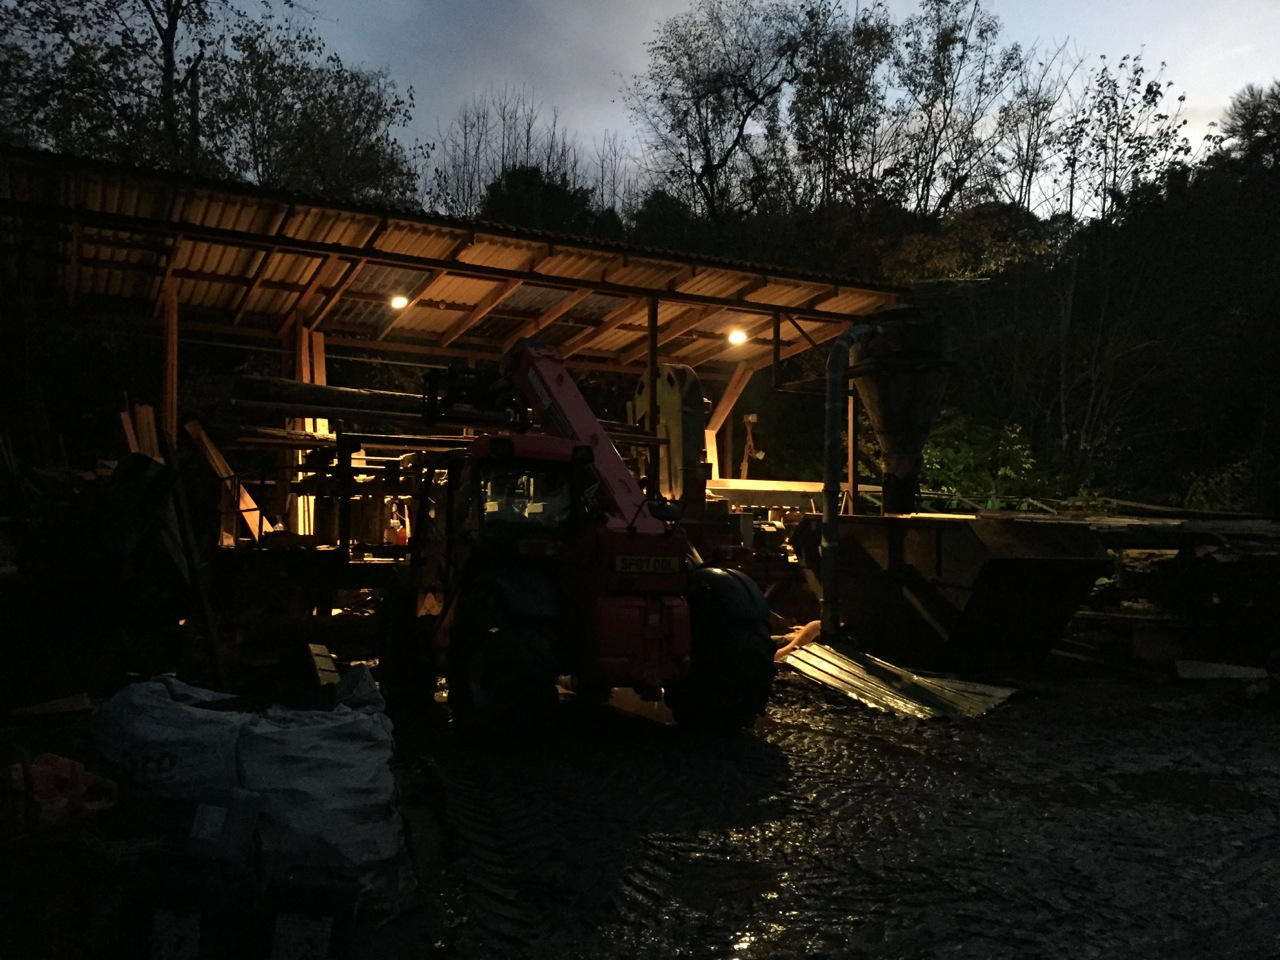
I went back to pick the larch cladding up around 5pm as the light was going. People were still working and the large saw outside was busy cuting up a large piece of timber into planks.
Towards the end of this week the interior insulation arrived from Caley Timber, so I need to crack on and get this installed and covered by the airtight membrane ready for the electrician to come and complete the first fix. Simon will be dropping back to help with internal panelling and the stud walls for the bathroom, kitchen.
Nick who runs the sawmill was really helpful. He turned my order around in less than a week. All of the timber is sourced locally from Ullapool and nearer to Strathpeffer. The wood yard reminded me of sawmills that were dotted about all over the UK when I was a very young child in the 60's. They seemed to disappear as I got older and wood was something that you bought from the big chains.
While there Nick showed me the Larch flooring that they produce so I pre ordered some for the studio. It looked and smelt really good.
I went back to pick the larch cladding up around 5pm as the light was going. People were still working and the large saw outside was busy cuting up a large piece of timber into planks.
Towards the end of this week the interior insulation arrived from Caley Timber, so I need to crack on and get this installed and covered by the airtight membrane ready for the electrician to come and complete the first fix. Simon will be dropping back to help with internal panelling and the stud walls for the bathroom, kitchen.