Flashings
All Prep Complete
08/10/15 20:37
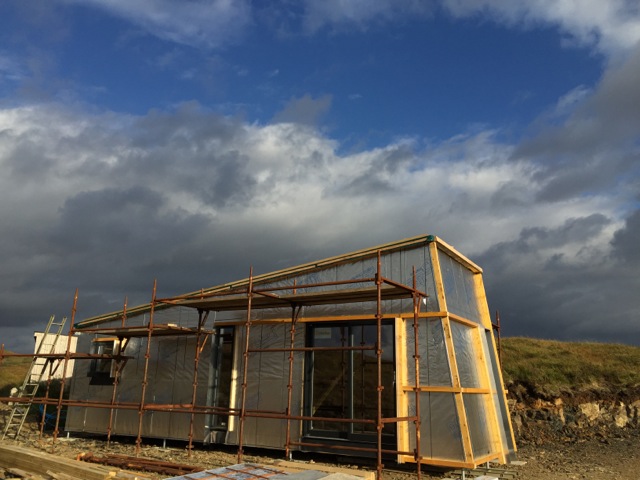
By the end of the 8th of October all of the insulation had been cut and carefully fitted, avoiding gaps, taped, and sealed against the weather. The buildings skeleton is no longer visible and the building has become podgy with the addition of the insulations thick coat. The flashings have all been fitted.
Unfortunately we had one wrong size, too short, flashing for one of the front sloping wall corners. This means that we have to get another flashing piece from Neptune in Glasgow to complete this corner. They have already told me that it can be ready when I am next passing on the 16th of October, so not too long a wait.
This doesn't stop us getting on with the rest of the flashings around the building in preparation for the installation of the Marley sheathing. We should begin this from the rear of the building on Thursday or Friday 9th of October. We will see how far we get with this by the end of Friday. I will update with pictures.
As can be seen below we started on the sheathing of the lower wall panels after lunch on Friday we managed to measure and set out and then cut and place five sheets on the north side and two sheets on the east side. We will crack on first thing Monday 12th October. I am off to work on Wednesday and will pick up flashings from Neptune Fabrications on my way past Glasgow.
Both of us are keen to get on with getting to wind and watertight as quickly as possible as the winter storms will begin to roll towards us across the Atlantic.
External Wall Build Up
05/10/15 20:21
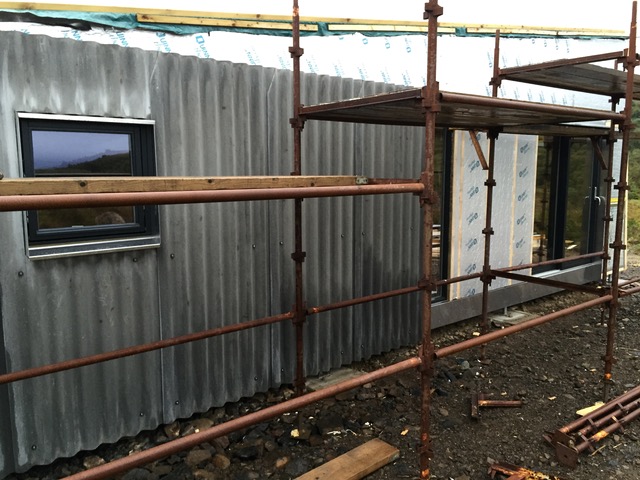
You can see from the photographs how the external wall is built up. Some 95m by 70mm C16 Wooden rails are placed along the frame of the building and will be the fixing points for the external Marley Profile 6 Sheathing. The Sheathing for the whole building came to just over a £1000 including Vat. This doesn't include the Larch inserts around the double door and single door.
The rails also work to organise the line of the cut of the sheathing along the long walls and front sloping wall. Between the rails 100mm rigid foam insulation board is cut and placed and secured. It is taped at the joints to prevent water ingress, as can be seen. This detailing is slow and takes time but will prevent any cold spots and bridging from inside to out.
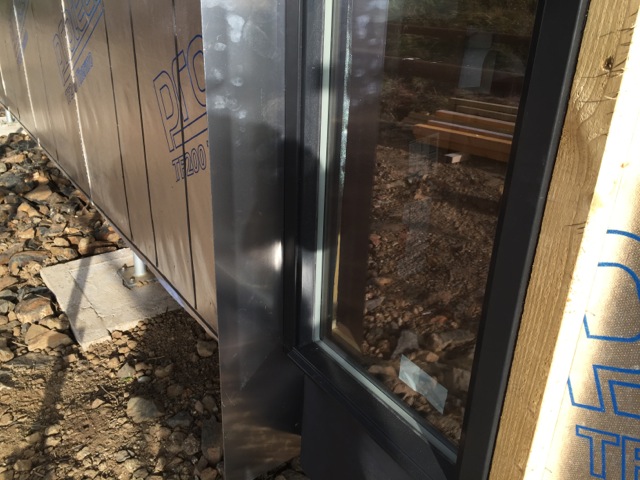
The external sheathing is then supplemented inside by another 100mm, in the walls, of a high u value slab based insulation. There will be 250mm of this slab insulation in the inside of the roof.
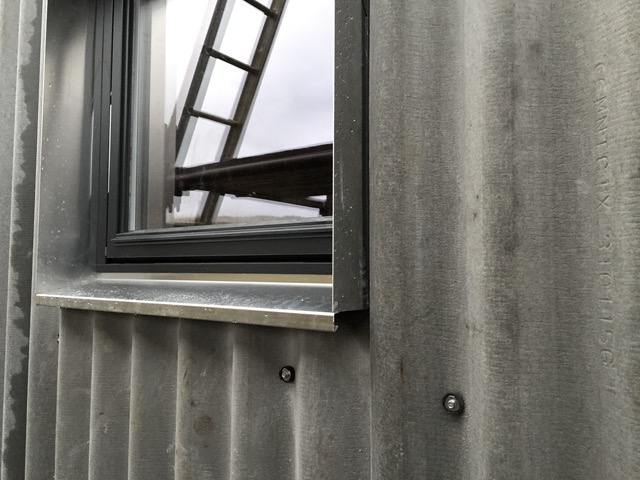
You can also see from the photographs how the milled aluminium flashings work and are fixed around the windows. We have been really pleased with the quality and look of these against the Nordan windows. They help protect and shed water away from the windows. Before we can fit all of the flashings a lot of time was spent by us checking how they would fit on the external wooden rails and frames around the edges of the building.
It is completely worth spending this careful time considering problems as this will allow the sheathing to be installed quickly and as easily as possible. Simon is great as he makes me slow down and consider how each stage needs to be right and any problems talked through before embarking on the next bit of the build. On my own, part from being much slower, I might be tempted to get some sheathing up before all of the other careful, time consuming bits had been completed as I am excited to see how all the materials will look together.
The rails also work to organise the line of the cut of the sheathing along the long walls and front sloping wall. Between the rails 100mm rigid foam insulation board is cut and placed and secured. It is taped at the joints to prevent water ingress, as can be seen. This detailing is slow and takes time but will prevent any cold spots and bridging from inside to out.
The external sheathing is then supplemented inside by another 100mm, in the walls, of a high u value slab based insulation. There will be 250mm of this slab insulation in the inside of the roof.
You can also see from the photographs how the milled aluminium flashings work and are fixed around the windows. We have been really pleased with the quality and look of these against the Nordan windows. They help protect and shed water away from the windows. Before we can fit all of the flashings a lot of time was spent by us checking how they would fit on the external wooden rails and frames around the edges of the building.
It is completely worth spending this careful time considering problems as this will allow the sheathing to be installed quickly and as easily as possible. Simon is great as he makes me slow down and consider how each stage needs to be right and any problems talked through before embarking on the next bit of the build. On my own, part from being much slower, I might be tempted to get some sheathing up before all of the other careful, time consuming bits had been completed as I am excited to see how all the materials will look together.