Larch Floor
Larch Floor
26/02/16 15:58 Filed in: Larch Floor
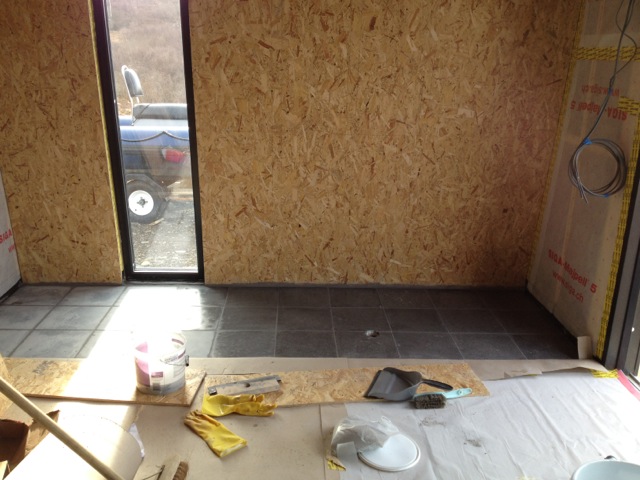
Before the Larch floor could be started the tiles under the Stove had to be laid and grouted. We had got the tiles, which were gray stone on special offer from Fired Earth. They had already arrived and while doing the studs Simon had set out the tiles. They didn't need cutting as they were chosen to fit the space with a 3mm grout gap around each one.
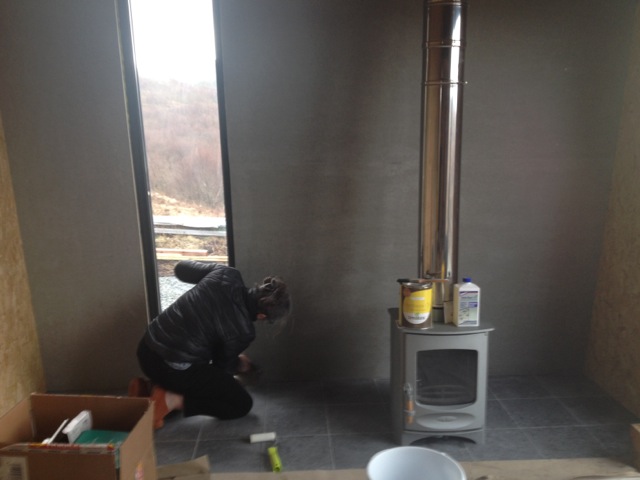
The only cut needed was a circular hole for the external air inlet for the Charnwood C4 stove. Kate grouted and sealed the tiles, after which I installed the Charnwood stove with its air inlet and top mounted flue. I had to eat porridge on the morning before lifting the stove into place, it was on the edge of my strength but just managed it. It looked really bonny when in place.
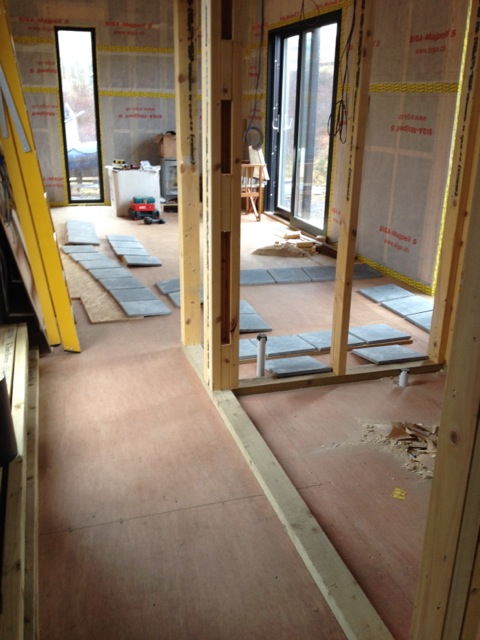
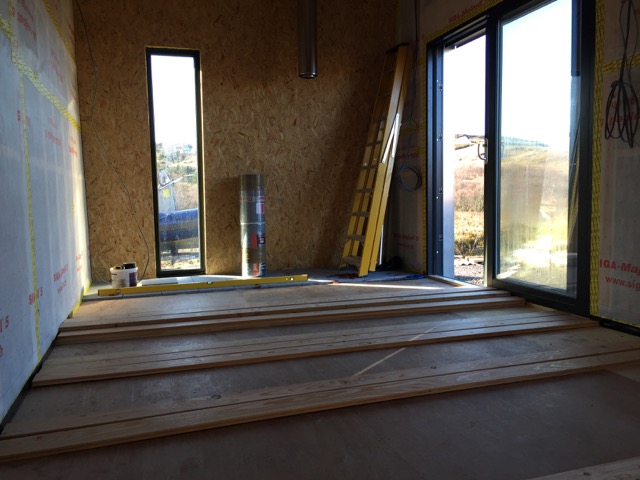
Only then could I set out the Larch floor and get on. I had set myself three days to do it before Simon was back to begin the Osb internal wall sheathing. I enjoyed laying the floor, as always it is the preparation, once this is done it is then a steady methodical exercise of cutting and laying.
Floor in living room, kitchen
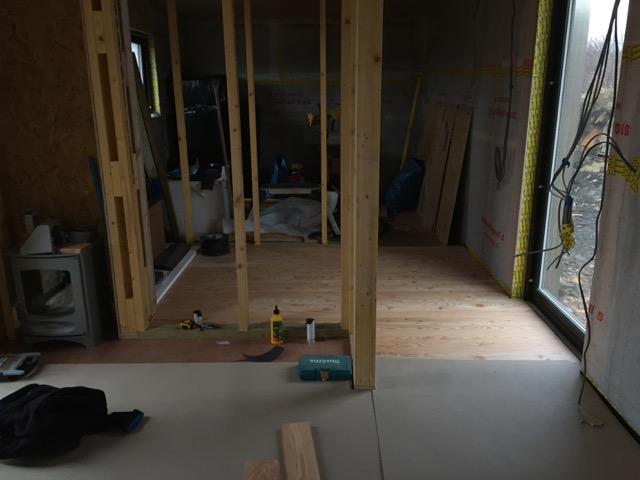
Larch floor into bathroom just bedroom to complete
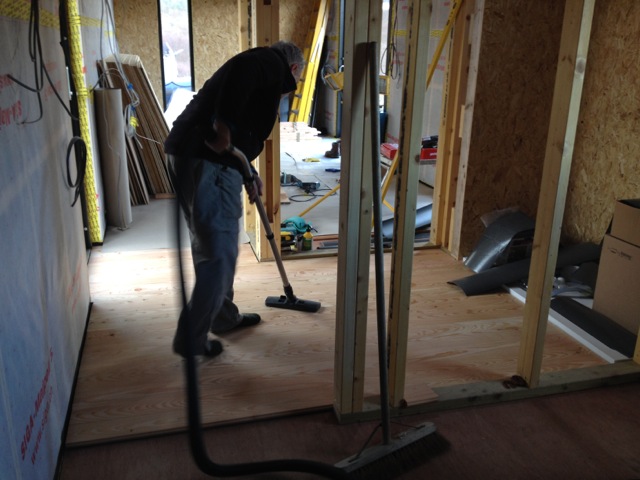
Me cleaning before covering and protecting floor.