February 2016
Larch Floor
26/02/16 15:58 Filed in: Larch Floor
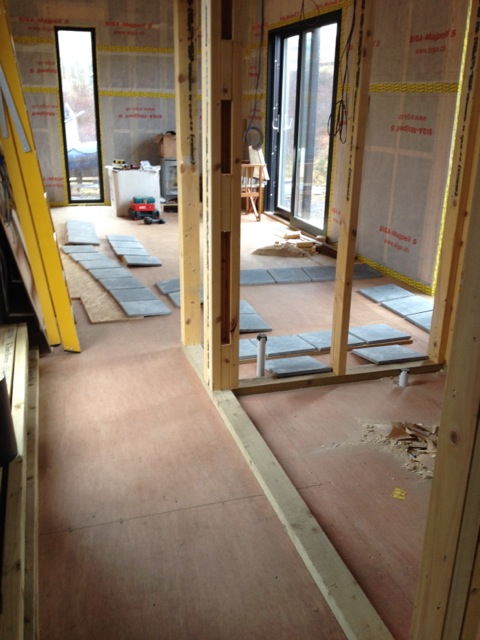
Before the Larch floor could be started the tiles under the Stove had to be laid and grouted. We had got the tiles, which were gray stone on special offer from Fired Earth. They had already arrived and while doing the studs Simon had set out the tiles. They didn't need cutting as they were chosen to fit the space with a 3mm grout gap around each one.
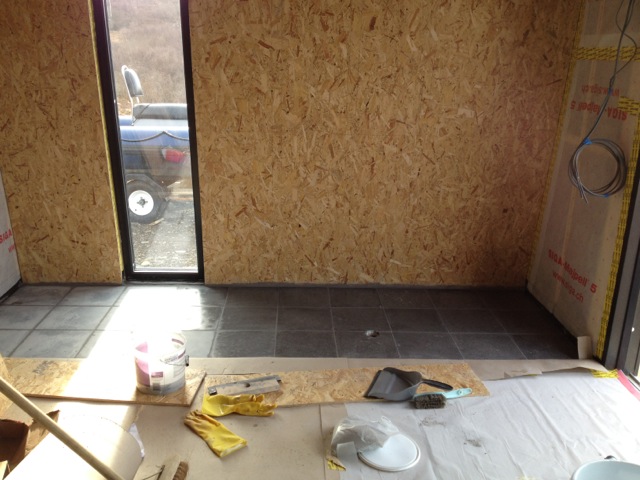
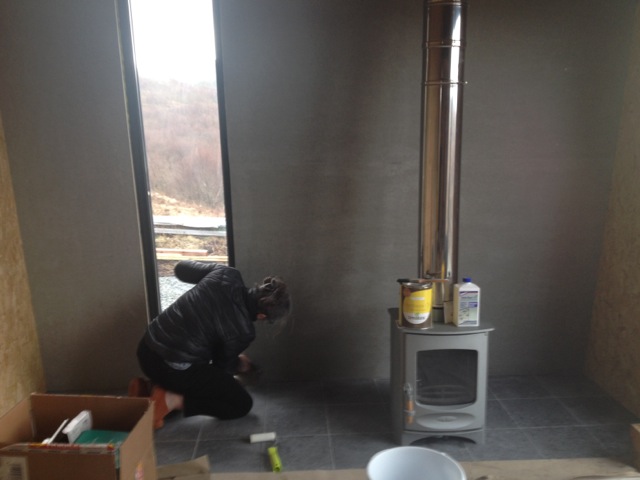
The only cut needed was a circular hole for the external air inlet for the Charnwood C4 stove. Kate grouted and sealed the tiles, after which I installed the Charnwood stove with its air inlet and top mounted flue. I had to eat porridge on the morning before lifting the stove into place, it was on the edge of my strength but just managed it. It looked really bonny when in place.
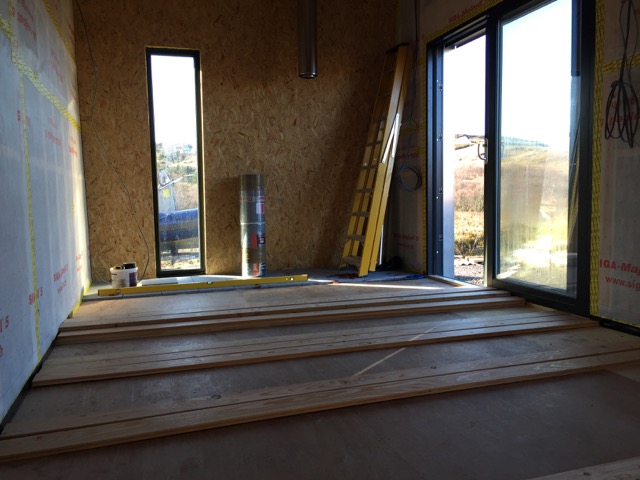
Only then could I set out the Larch floor and get on. I had set myself three days to do it before Simon was back to begin the Osb internal wall sheathing. I enjoyed laying the floor, as always it is the preparation, once this is done it is then a steady methodical exercise of cutting and laying.
Floor in living room, kitchen
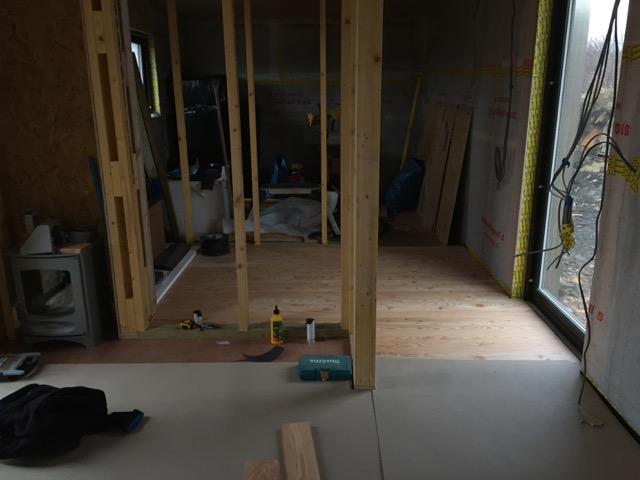
Larch floor into bathroom just bedroom to complete
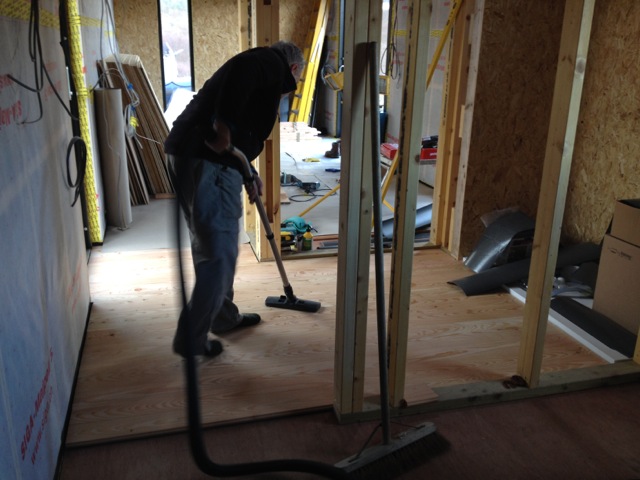
Me cleaning before covering and protecting floor.
Order of Work
02/02/16 15:14 Filed in: Order of Work
Simon and I had discussed the order of work that needed to be completed for each stage to follow on from the other.
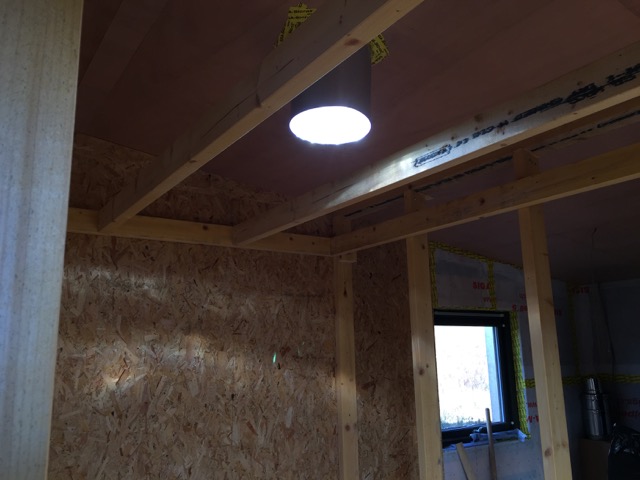
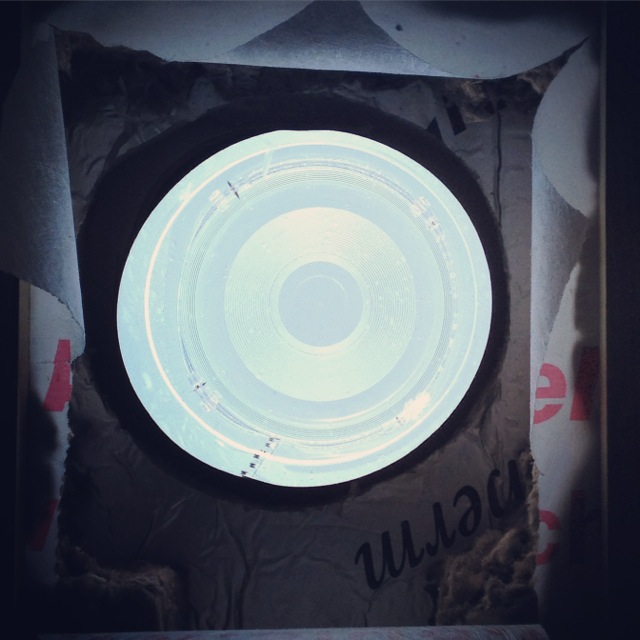
Simon was also busy so said I had to do the external holes and flashings in the roof for the chimney flue and light tube.
To his surprise this was done before he got back to fit the ceiling ply, he even said I had done a decent job, high praise indeed, I was quite pleased with myself for a few minutes. So the order of work was:
Quite a list and we were at number two and it was already February and our first guests arrived on the 30th of April.
As the internal stud walls require careful construction I had to let Simon design the structure and was there to help him. His experience allowed him to come up with the most economical and strong way of creating the studs accurately.
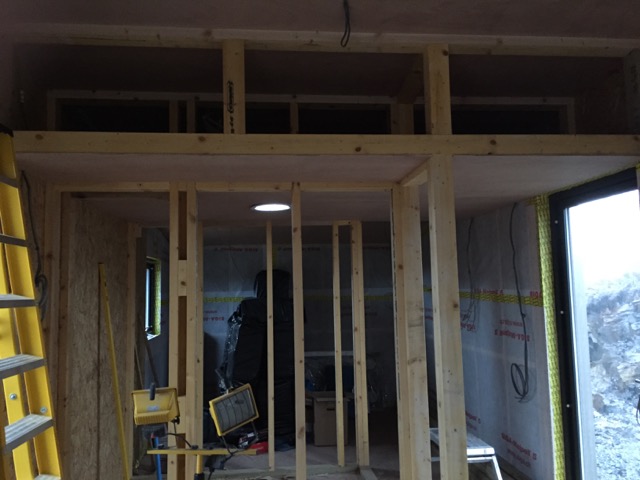
As the internal dimensions of the bathroom were designed around the size of the resin shower tray the studs needed to be accurate and take account of both the wall sheathing thickness and the wet wall thickness on top of this.
Easy to get wrong without experience. As ever I was glad to rely on Simon's skills.
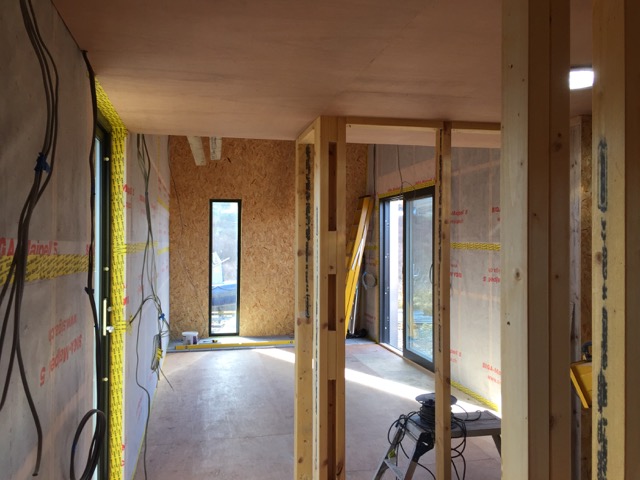
Once underway the studs didn't take long, Simon was kindly giving me time over the weekends. The studs took about two days to complete. Once these were done Simon said I was perfectly capable of doing the larch floor. He gave me a few tips and I cleared up and got the Larch floor from the store, already picked up before Christmas from Cromartie timber, into the Studio ready to set out and cut.
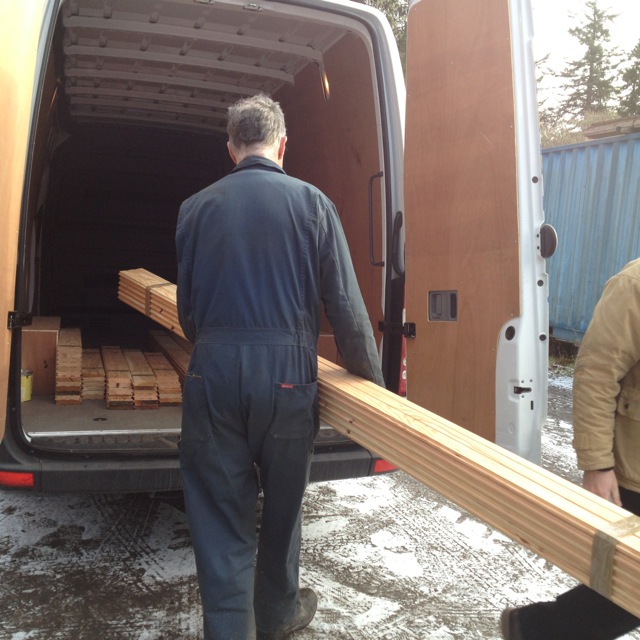
The larch was really lovely so I took great care setting up and choosing the boards for particular areas in the Studio. The floor in total had cost just over £600.
Simon was also busy so said I had to do the external holes and flashings in the roof for the chimney flue and light tube.
To his surprise this was done before he got back to fit the ceiling ply, he even said I had done a decent job, high praise indeed, I was quite pleased with myself for a few minutes. So the order of work was:
- Holes for Flue and light Tube
- Ceiling Ply
- Internal stud framework for bathroom, kitchen, hallway
- Tiles for stove and end of room
- Larch flooring all way through with necessary expansion gaps
- Internal walls to be sheathed in Osb
- Internal insulation, sound proofing
- Plumbing for hot water cold water, kitchen and bathroom
- End wall behind stove to have concrete cembrit sheets installed
- Kitchen and bathroom sinks and appliances
- Second fix electrics
- Final fittings
Quite a list and we were at number two and it was already February and our first guests arrived on the 30th of April.
As the internal stud walls require careful construction I had to let Simon design the structure and was there to help him. His experience allowed him to come up with the most economical and strong way of creating the studs accurately.
As the internal dimensions of the bathroom were designed around the size of the resin shower tray the studs needed to be accurate and take account of both the wall sheathing thickness and the wet wall thickness on top of this.
Easy to get wrong without experience. As ever I was glad to rely on Simon's skills.
Once underway the studs didn't take long, Simon was kindly giving me time over the weekends. The studs took about two days to complete. Once these were done Simon said I was perfectly capable of doing the larch floor. He gave me a few tips and I cleared up and got the Larch floor from the store, already picked up before Christmas from Cromartie timber, into the Studio ready to set out and cut.
The larch was really lovely so I took great care setting up and choosing the boards for particular areas in the Studio. The floor in total had cost just over £600.