August 2015
Internal Flooring
Once the membrane was on the roof we decided, while waiting the three weeks for the windows, to further protect the whole roof with a tarpaulin so the inside wasn't damaged by water getting in.

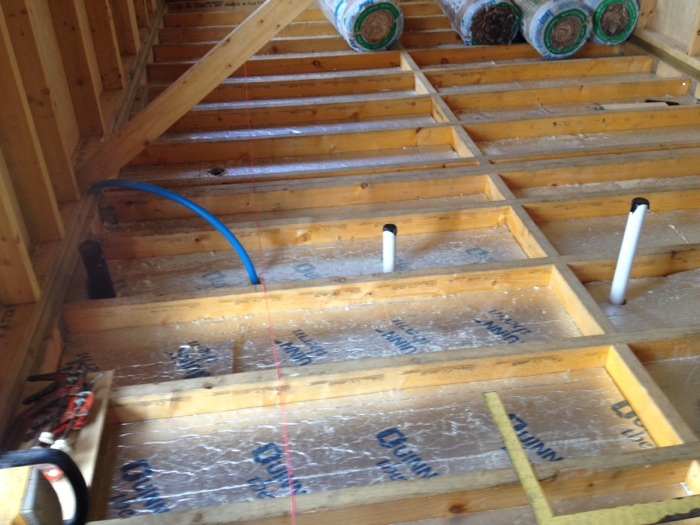
Once this was in place we started on the internal floor. Sealing the gaps between the joists. We installed a thin batten of wood around all sides of the joist openings at the bottom then used the left over 10mm ply, that would have been placed on the roof, cut and placed in each joist gap on top of the battens. We screwed each ply piece to the battens then sealed each ply piece with silicone to prevent wind and animal ingress.
Once this was done the foam insulation, 100mm, was cut and placed in each of the joist cavities. We then completed the insulation with 100mm of rock wool. On top of this we placed an airtight membrane and then sealed this with tape. Then we cut the ply to become the subfloor on top of which the final flooring would be fitted. As you can see above we also made sure the pop ups for water, drainage electricity and network came up through the floor in the correct places. The pipes going out through the floor were then neatly connected to the soakaway drainage pipe.
We again thought about the thickness of the ply sub floor. In the specs this was set out as 18mm. Simon suggested that we use slightly better quality ply as well as choosing something thicker at 22mm. Again this served to create a very flat and rigid floor.
In Skye, even more than on other builds the attention to detail to prevent wind infiltration to the inside makes a massive difference to the feel of the building once complete. All people who come to the Blackhouse and Hen House are amazed at their warmth and ease of keeping warm with very little energy. The lack of unplanned for draughts is also commented on frequently.
Roof Sheathing
15/08/15 15:33 Filed in: Roof Sheathing
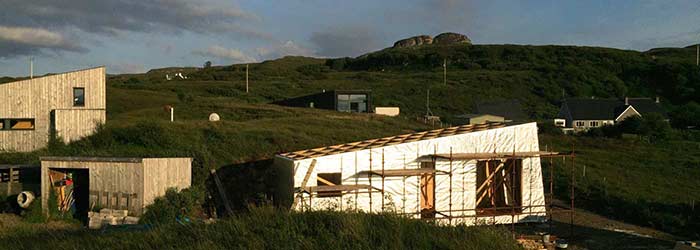
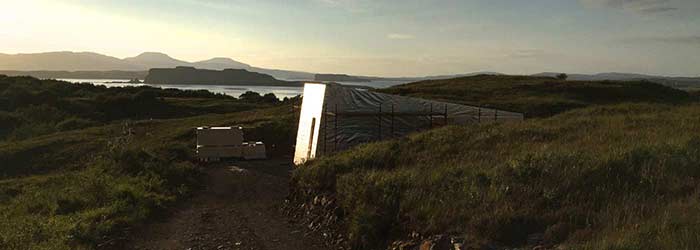
Once the 18mm ply had arrived Simon got on with installing it. Before this happened we had covered the walls with external brother membrane. We lapped this over the top of the walls so that the roof sheathing ply would be placed on top of it and when the roof had its membrane placed on this would then overlap the walls and create a good seal against wind and wet.
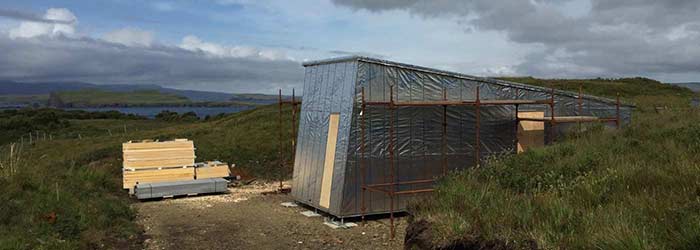
The roof took Simon a day to complete together with placing and securing the external membrane sheet. To do this the membrane is stapled onto the ply at regular intervals. The membrane is quite thick and tough in order to survive the winds on Skye. Simon also used thin nylon straps, used to secure wood together when delivered on a pallet. He placed these straps along the structural elements of the build, roof joists, wall frames so that when we come to apply the external sheathing we can see clearly all of the main structural attaching points. Again this preparation apart from keeping the external membrane from being torn and blown off by the wind also aids the speed of the next stage of the build in putting the external finish of walls and roof into place along the proper structural fixing points.
Sheathing
14/08/15 15:25 Filed in: Sheathing
Sheathing the building. The specification of the build from the architect and engineer asked for 10mm sheathing ply over the walls and roof. This adds to the rigidity of the frame and makes it feel much more robust and tighter.
We all discussed with prompts from Simon if 10mm would be enough for the roof. As the joists were 763mm apart it felt as if 10mm would not offer enough rigidity to the building as we would be clambering all over the roof when putting on the external sheathing. After discussion we decided to order 18mm ply sheathing for the roof and this felt correct when placing it and then walking on the roof. 10mm sheathing ply would have been to light and would have moved under our weight quite a lot.
The sheathing of the walls took just one and a half days and Bekah got to see the whole of the walls completed before she had to leave Skye.
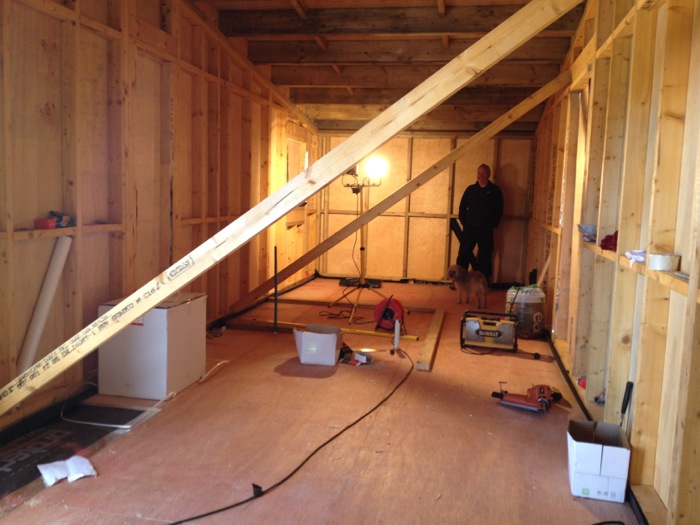
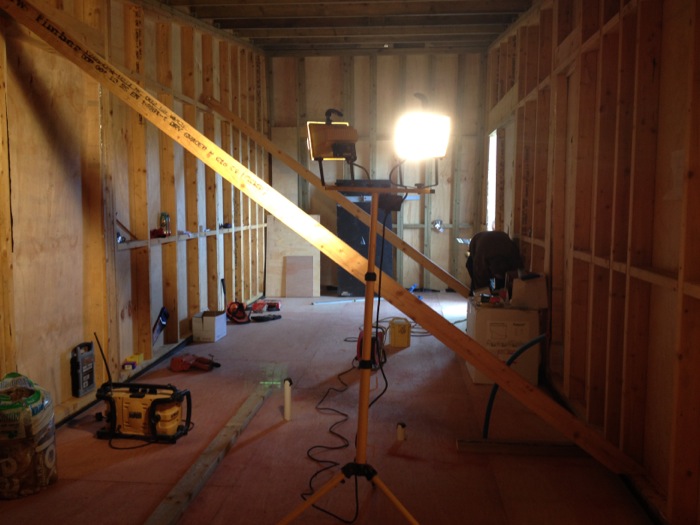
Roof Structure
09/08/15 15:19 Filed in: Roof Structure
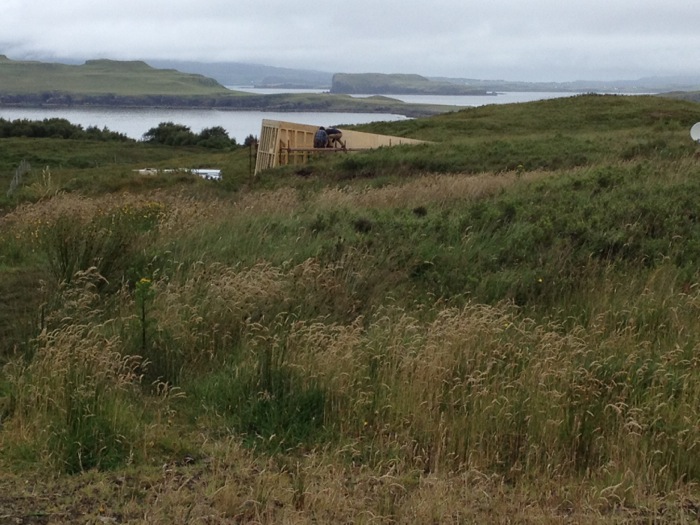
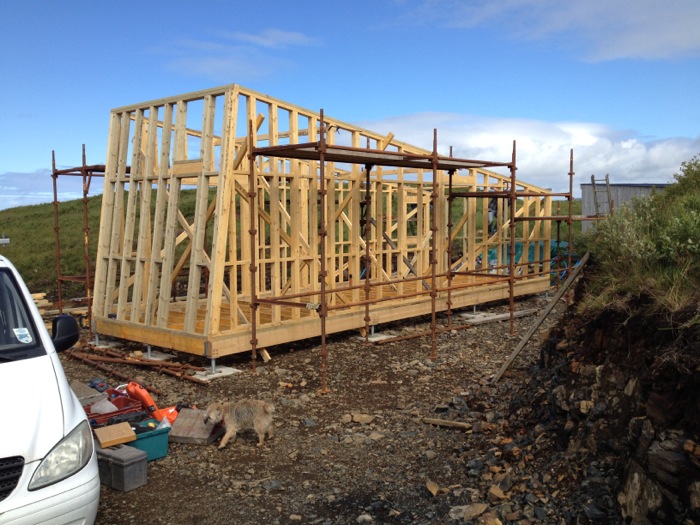
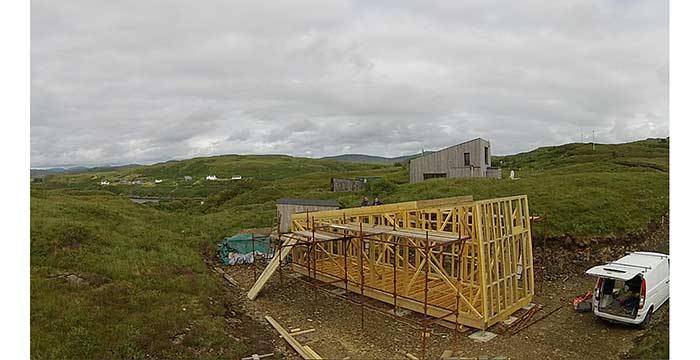
Once the scaffold was up I went off to the dentist and Bekah and Simon got on with the roof structure and roof joists. Feeling sorry for myself on return from the dentist Simon and Bekah got on with the work and completed the roof structure in a day.
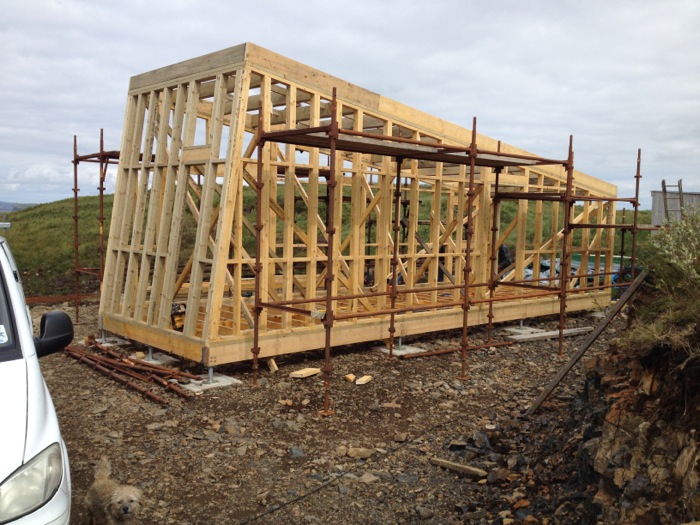
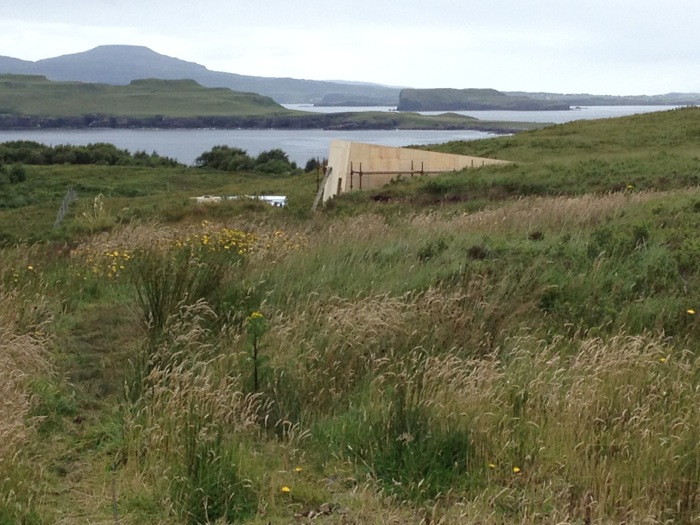
We now had a complete wooden skeleton of the build. It is always incredible to see this quick transformation and how the new shape in the landscape is a surprise. Again Simon put extra dawns in the roof structure to add strength.
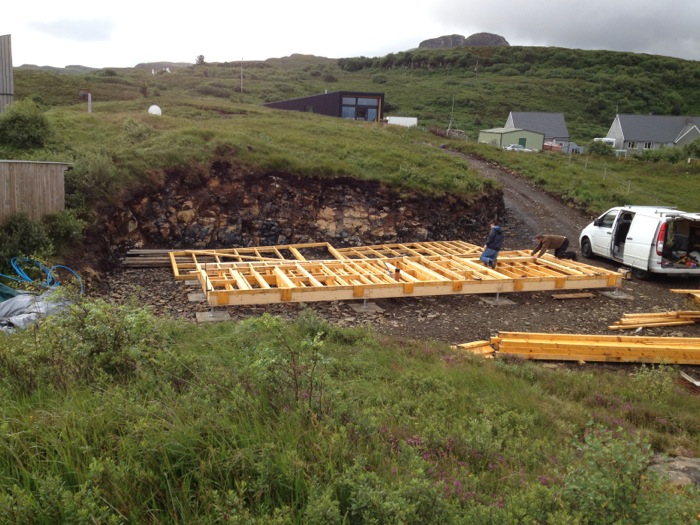
Frames Up
06/08/15 15:12 Filed in: Frames Up
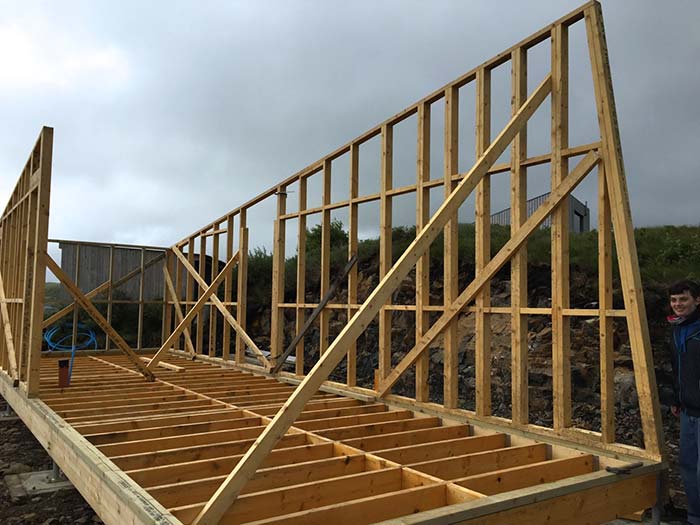
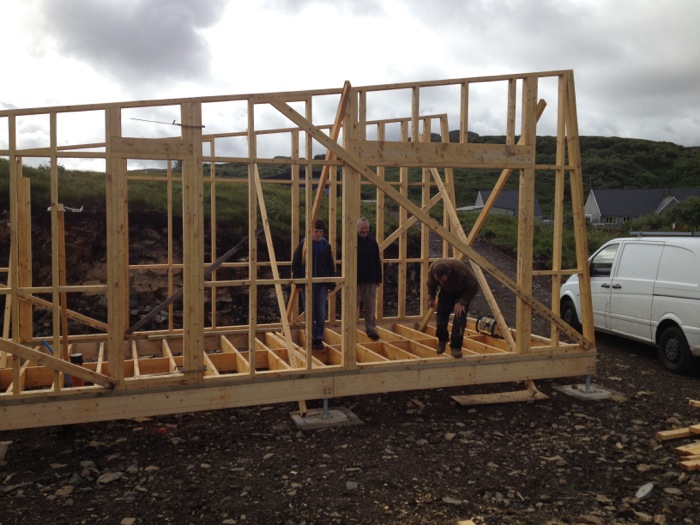
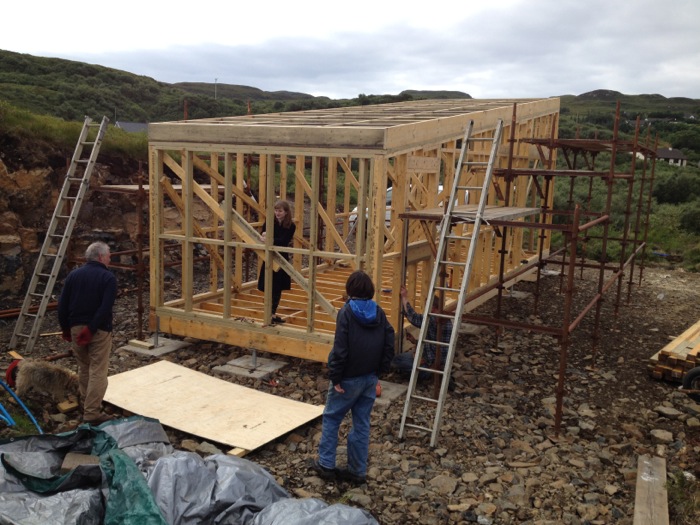
Once the frames were ready we began to lift them into place. Again with Simon's experience of lifting and then bracing the structure as it was put into place the whole process of one long wall small back wall and other long wall took just half a day to be in place and secure.
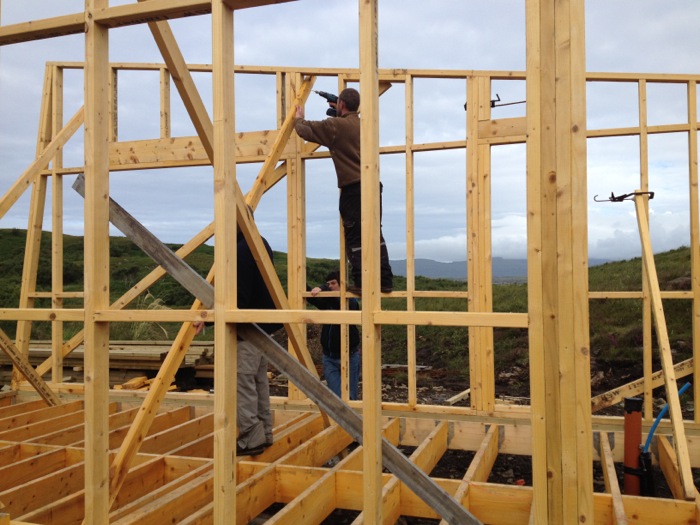
The Front wall was then built with the other frames in position. Extra nogins, dwangs were added for strength so by the end of the day all the walls were up and braced and square.
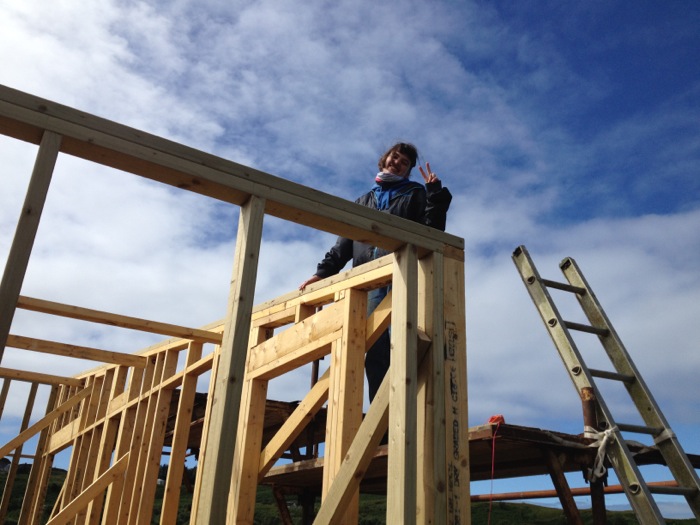
Once up the frames were rejoined at the cut points. We then placed scaffold around the building to enable us to do the roof plates and frame before fitting the roof joists.
Frames
03/08/15 15:02 Filed in: Wall Frames
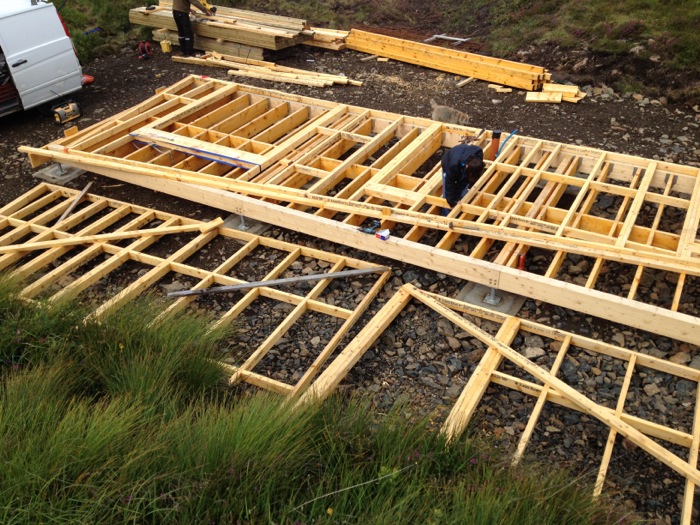
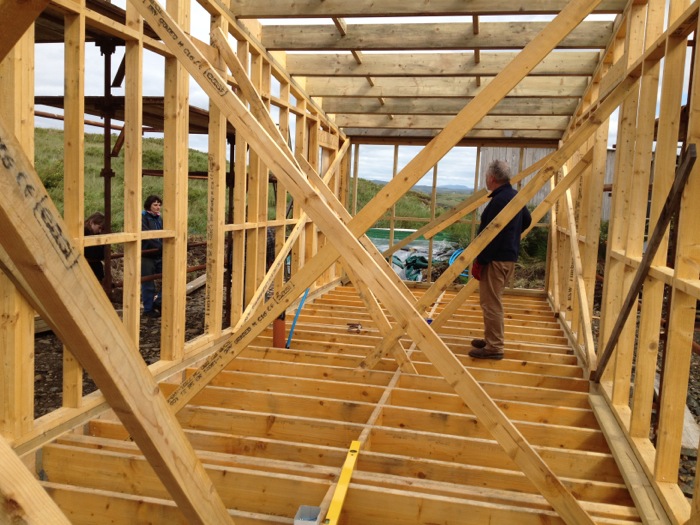
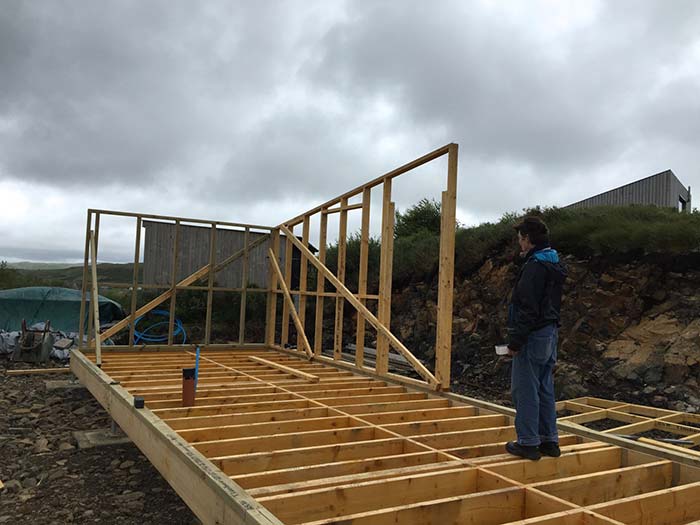
Once the floor was constructed and complete we used the base of the floor as the former from which to construct the long wall frames. The main tools in use were a small chop saw, nail gun, hammers and tape measures. We carefully set the top angle of the roof using the 3-4-5 Pythagorean method for making sure we were creating a square frame. Because the front of each of the long wall frames had a 7.5 degree angle at the front which was difficult to determine exactly without first creating a right angle, Simon, decided to first of all create the frame with a right angle and then cut it back to the correct angle once the frame was complete.
Each frame was 10m long so as there would only be three of us to raise the frames we decided to cut each long frame in two, once they had been built, in order so that with our combined strength we would be able to lift them vertically into position.
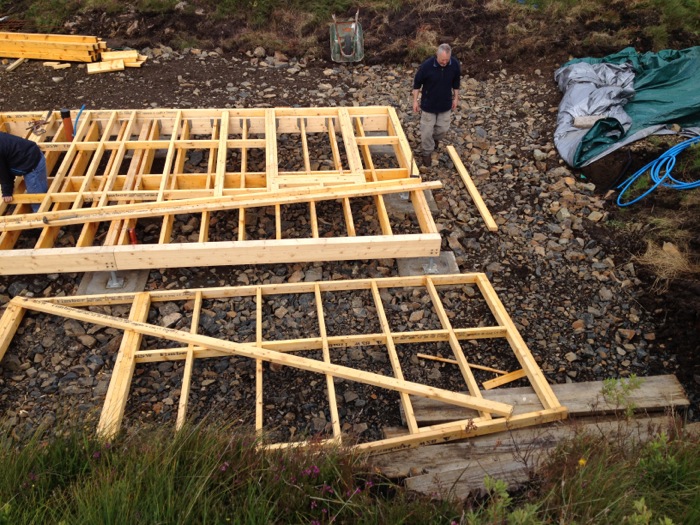
After the slog of the foundations the wooden construction felt incredibly fast. It only took a couple of days to complete all of the frames ready for lifting into position onto the floor structure.