March 2016
Cembrit Concrete Sheets
24/03/16 16:39 Filed in: Cembrit Concrete Sheets
Next with the plumbing getting on was picking up the kitchen units, fridge, cooker and hob together with units and the cembrit cement wall panels for behind the stove. We had thought carefully about the material for the wall behind the stove and had decided on the cembrit cement sheets. I had seen them used in Glasgow within Urban outfitters, who seem to have some interesting choice of materials within their shops.
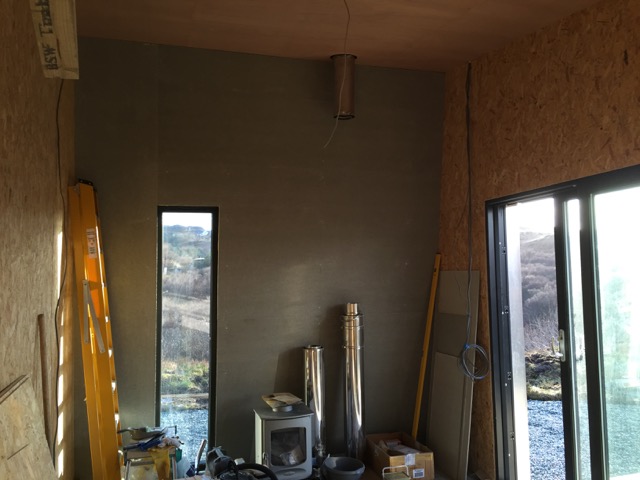
The very smooth gray finish worked well with the outside Marley sheets and also looked good with the tiles underneath the stove. We checked the materials out together before ordering and then picking up the sheets and kitchen, Ikea, from Glasgow. We dropped into Inverness on the way back to get the armoured electric cable that would take the electric supply from our house into the consumer unit within the Studio. Then straight back to get on with the work as April approached faster than I dared imagine.
The electrician Mathew was also due back to get on with the second fix within the next week. I also had organised Sean to dig the service trench for the electric cable and the water. I said I would have this ready into both houses for Mathew the electrician. At the same time I had got help with the external decking which would be in place ready for Sean to lay the final gravel on the track and around the Studio. Busy.
Plumbing and Fittings
15/03/16 16:21 Filed in: Plumbing and Fittings
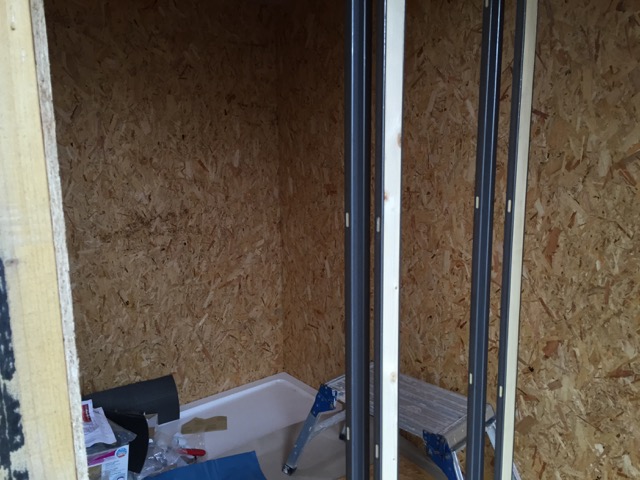
It was important to keep on top of all of the ordering of fittings in the last part of the build. To save on space we were having a sliding pocket door into the the bathroom. This required specialist fittings and door catches. We also had to seal the bathroom floor as the pocket door would cover and hide some of the floor in the wall makeup for the sliding mechanism.
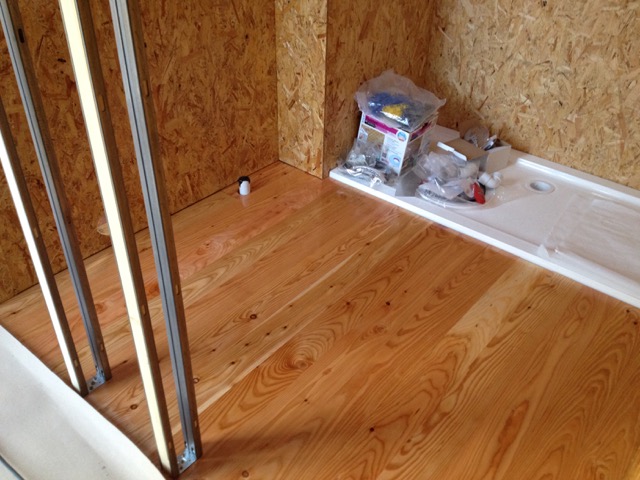
Kate sealed the floor with the recommended hard wax finish from Cromartie timber.
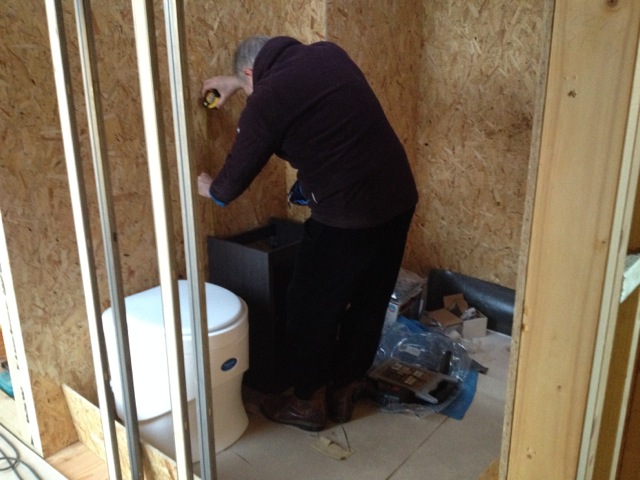
Once this was done I was then able to begin on the compost loo from Separett which was supplied by Littlehouse who is now the distributor, and very helpful, for Separett and other dry loo solutions. I was also able to get the bathroom sink in place ready for the plumbing internal to the walls that all runs, economically along the shared kitchen, bathroom stud wall.
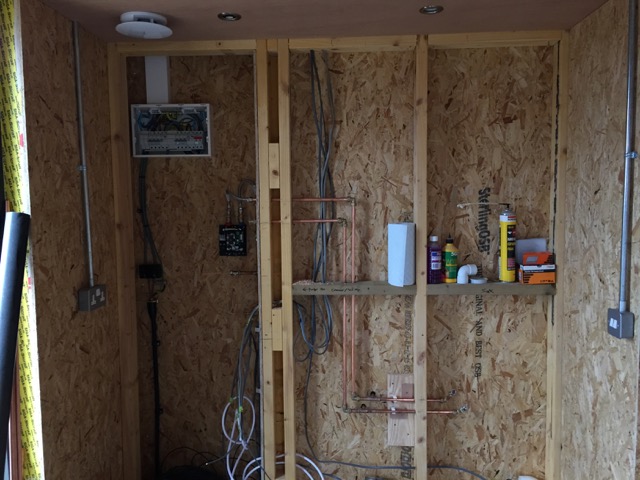
I was doing the plumbing myself and decided to do copper pipe with soldered joints and some compression fittings to taps, water heater and electric shower. Plumbing is fairly straight forward, again it is methodical and relies on planning and prep. You need a good blow torch, flux and solder. I bought all of the pipe and fittings from Screwfix, incredibly cheaply compared to those available on Skye.
Kate sealed the floor with the recommended hard wax finish from Cromartie timber.
Once this was done I was then able to begin on the compost loo from Separett which was supplied by Littlehouse who is now the distributor, and very helpful, for Separett and other dry loo solutions. I was also able to get the bathroom sink in place ready for the plumbing internal to the walls that all runs, economically along the shared kitchen, bathroom stud wall.
I was doing the plumbing myself and decided to do copper pipe with soldered joints and some compression fittings to taps, water heater and electric shower. Plumbing is fairly straight forward, again it is methodical and relies on planning and prep. You need a good blow torch, flux and solder. I bought all of the pipe and fittings from Screwfix, incredibly cheaply compared to those available on Skye.
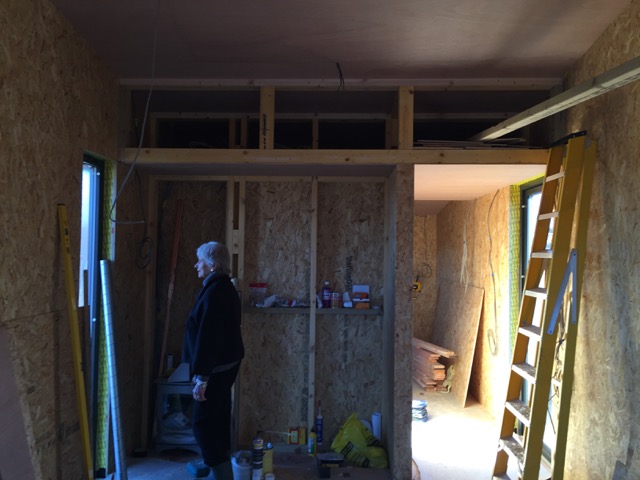
Internal Wall OSB
06/03/16 16:10 Filed in: Internal Wall OSB
Simon got back to us. All the Osb I had delivered from a local merchant in Portree and had it delivered I had covered the laid wooden floor with thick cardboard roll to protect it from dropped tools, scuffs and scratches.
Once on site again Simon was quick to get on and we had most of the wall complete within two days. It was great to see this going up. We were very careful in the measuring and Simon had invested in a Saw that worked within its own rails and guides, specifically designed for sheet material. This made the cuts very clean and accurate. We had decided on a 6mm shadow gap where the OSB met the floor.
There is no skirting board in the Studio and this makes for a very simple and clean look.